Aluminum wheel restoration/My "new" wheels
#1
 01-21-2010, 06:28 PM


Join Date: Mar 2005
Location: St. Charles, MO
Posts: 5,843
Likes: 0
Received 0 Likes
on
0 Posts
Aluminum wheel restoration/My "new" wheels
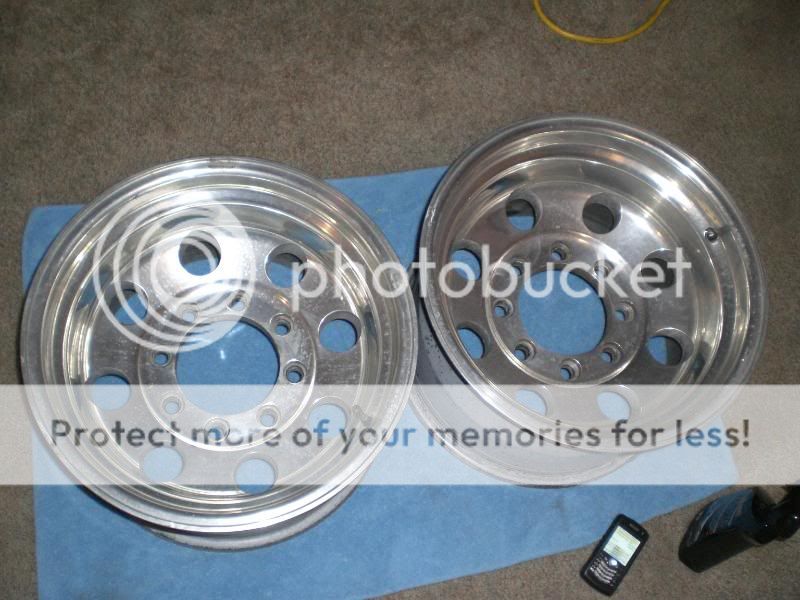
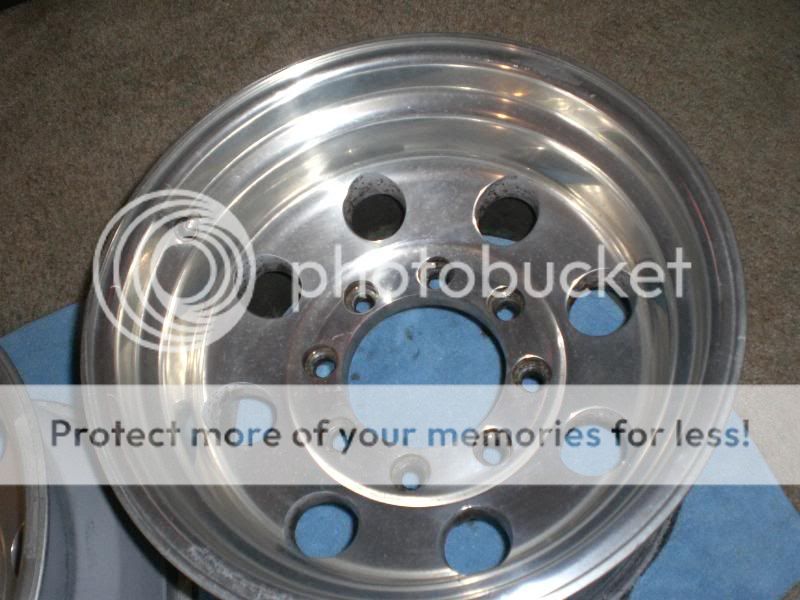
So, a buddy of mine and I are traded wheels... He bought a set of 16x10 wheels for his 2wd Superduty, and they were a bit big on the front. So, we traded rims (I kept my good tires) The wheels were in good shape physically, but the elements & brake dust had take their toll on the polished (uncoated) aluminum. They also used clip-on weights which did a number on the wheels. These pics are of after I had washed the wheels:

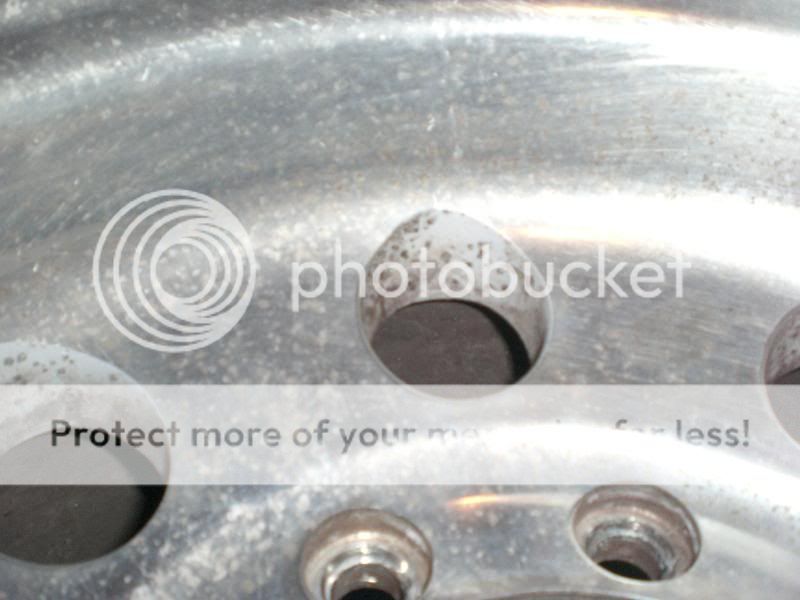
This wheel was especially bad
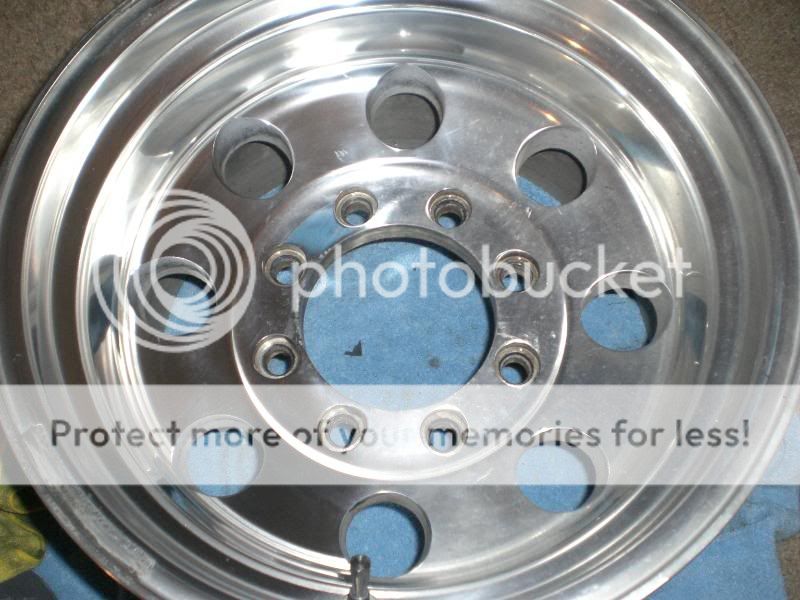
So, step #1 was to claybar the wheels using Meguiar's Mild Detailing clay and Ultimate Quick Detailer as lube.
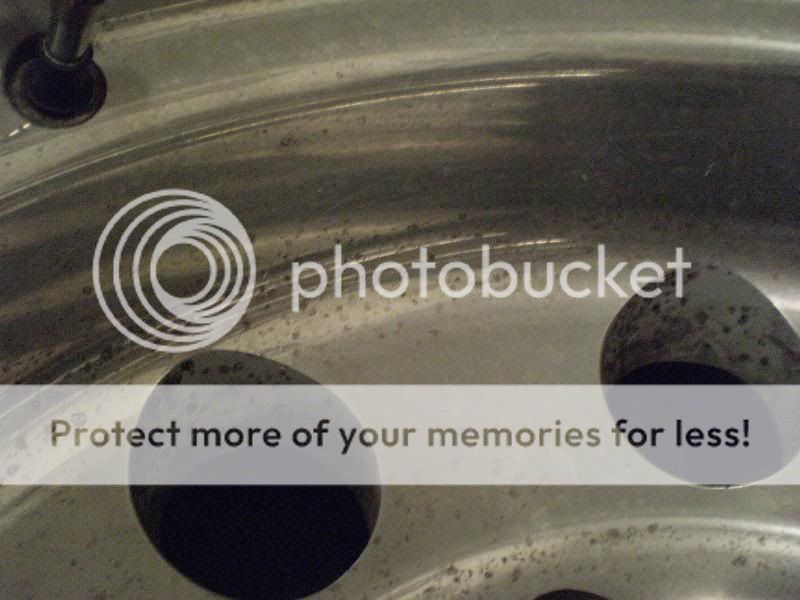
This removed a lot of the surface crap that was stuck on...
Here's the "bad" wheel after clay...
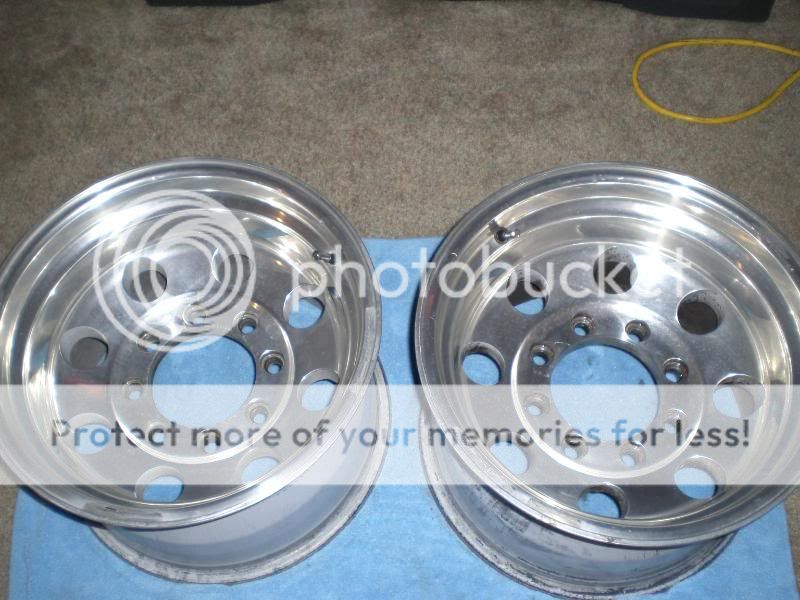
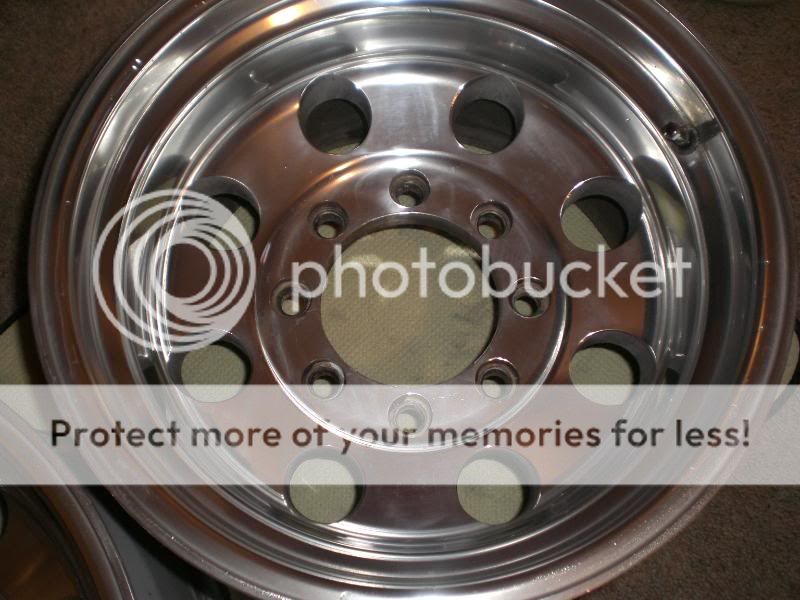
Next up was polishing the wheels using Meguiar's NXT Metal Polish and a Mother's Powerball (the small one), spun on my Kawasaki 21.8V drill. This polish is a paste, not a liquid, so to get it on the wheel I'd scoop it out with my hand and basically rub it on the wheel, then go at it with the powerball. Here's a half and half shot of the "bad" wheel...
The bad wheel took two passes of polish to get it looking right. The rest only required one. I did half of a wheel at a time, working slow and making sure to go over everything at least twice.

Next, the wheels (and center caps) were given a coat of Meguiar's NXT wax
Then I gave them another coat of wax, but no pics of that.
At the tire shop:
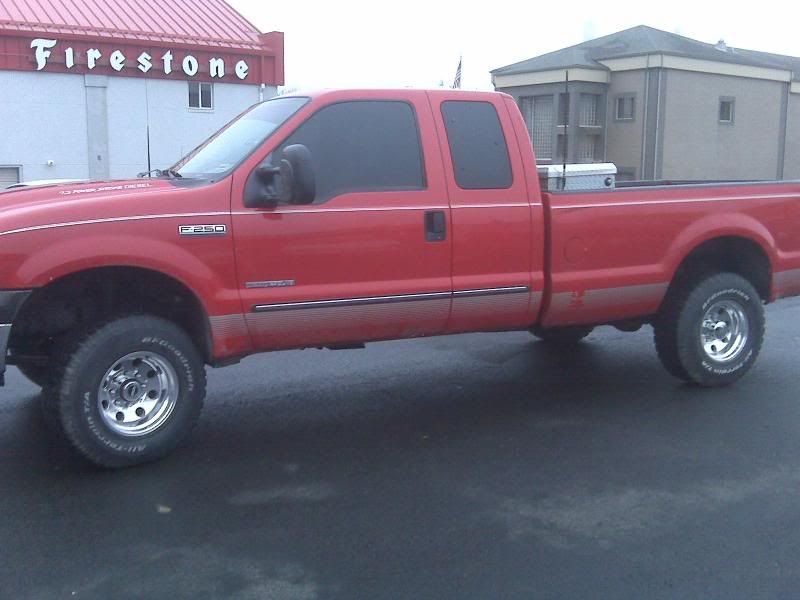
Then back at my apartment... Truck got a little muddy at the barn when I went there to put the stock rims in there til I can take them to Kevin.
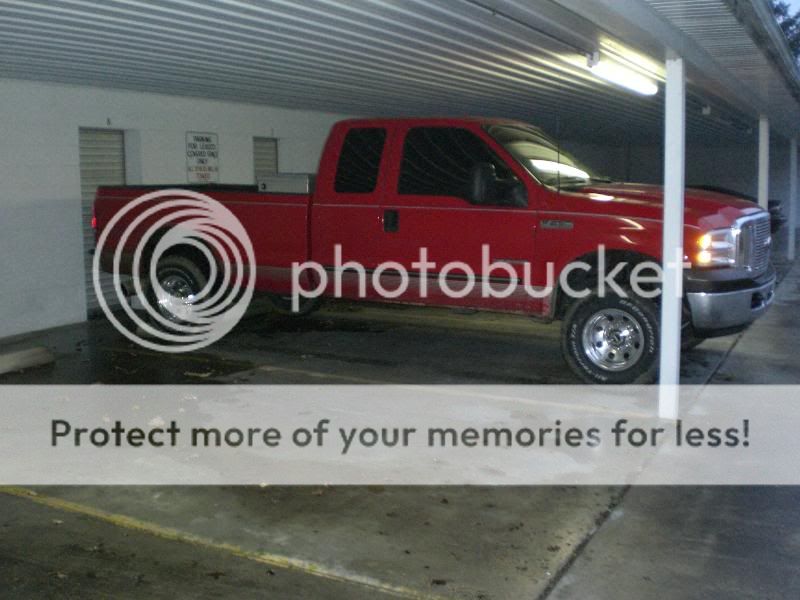
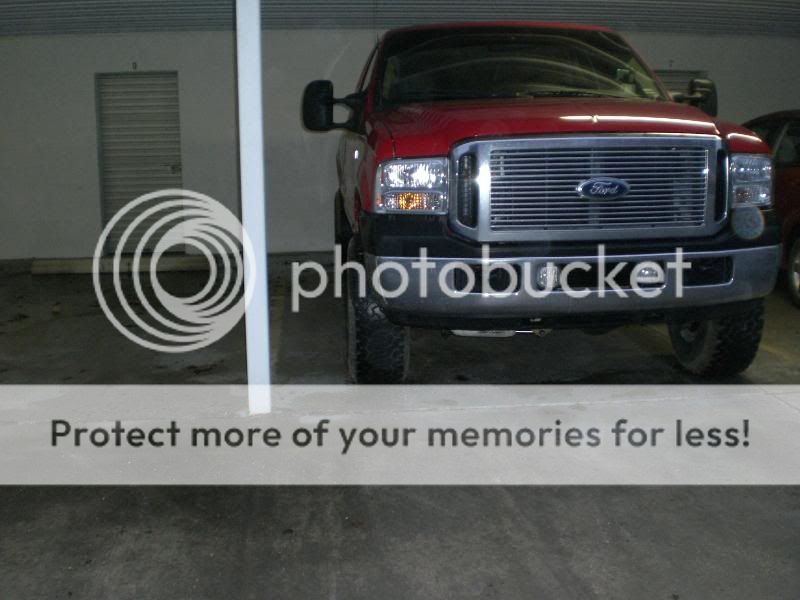
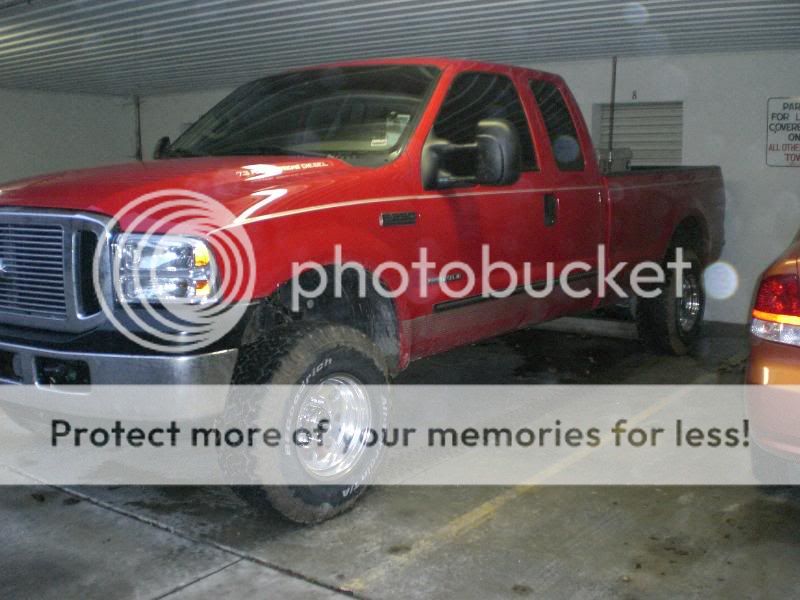
I'm happy with how they turned out. I wasn't going for perfect, because that is what my 20"s are for (when I can finally afford tires for them). Once I get those done, these will be my winter wheels. Now I need to get my fender flares painted, cause these things throw up a bit more crap...
This wheel was especially bad
So, step #1 was to claybar the wheels using Meguiar's Mild Detailing clay and Ultimate Quick Detailer as lube.
This removed a lot of the surface crap that was stuck on...
Here's the "bad" wheel after clay...
Next up was polishing the wheels using Meguiar's NXT Metal Polish and a Mother's Powerball (the small one), spun on my Kawasaki 21.8V drill. This polish is a paste, not a liquid, so to get it on the wheel I'd scoop it out with my hand and basically rub it on the wheel, then go at it with the powerball. Here's a half and half shot of the "bad" wheel...
The bad wheel took two passes of polish to get it looking right. The rest only required one. I did half of a wheel at a time, working slow and making sure to go over everything at least twice.
Next, the wheels (and center caps) were given a coat of Meguiar's NXT wax
Then I gave them another coat of wax, but no pics of that.
At the tire shop:
Then back at my apartment... Truck got a little muddy at the barn when I went there to put the stock rims in there til I can take them to Kevin.
I'm happy with how they turned out. I wasn't going for perfect, because that is what my 20"s are for (when I can finally afford tires for them). Once I get those done, these will be my winter wheels. Now I need to get my fender flares painted, cause these things throw up a bit more crap...


#4
01-22-2010, 04:03 AM

Senior Member
Join Date: Aug 2007
Location: CA
Posts: 961
Likes: 0
Received 0 Likes
on
0 Posts
#5
01-22-2010, 11:06 AM

Senior Member
Join Date: Jul 2009
Location: michigan
Posts: 334
Likes: 0
Received 0 Likes
on
0 Posts


#7
01-22-2010, 07:06 PM

Trending Topics
#8
01-22-2010, 09:34 PM
Join Date: Mar 2005
Location: St. Charles, MO
Posts: 5,843
Likes: 0
Received 0 Likes
on
0 Posts
Oh, 4 or 5 hours total? I let one coat of wax dry overnight. Put it like this... the truck was at the tire shop longer than it took for me to do the wheels.
Depending on the weather, I'll get the truck sprayed off soon and take some better pictures of it. It's just tough since everywhere is soaked and I can't touch grass without the truck getting muddy.
Depending on the weather, I'll get the truck sprayed off soon and take some better pictures of it. It's just tough since everywhere is soaked and I can't touch grass without the truck getting muddy.


#12
01-23-2010, 04:07 PM
Join Date: Mar 2005
Location: St. Charles, MO
Posts: 5,843
Likes: 0
Received 0 Likes
on
0 Posts
Buy me some bigger ones.
Because the bed is rusted to hell from the awful drop-in liner that the previous owners put in. I have a replacement bed, just need to get back to working on it... 

#14
01-24-2010, 05:05 PM
ahhh, do i remember your bed being the reason you couldnt take off the rocker stripes as well? because they painted over them?
#15
01-24-2010, 05:35 PM
Join Date: Mar 2005
Location: St. Charles, MO
Posts: 5,843
Likes: 0
Received 0 Likes
on
0 Posts
