Adding 09 backup camera & emblem on 04-08
#1
 07-11-2009, 03:10 AM


Join Date: Jun 2006
Location: SE TX
Posts: 1,605
Likes: 0
Received 0 Likes
on
0 Posts
Adding 09 backup camera & emblem on 04-08
Ok guys well a few have asked and I finally finished the install. Im putting it here cause I do not know if its good enough for the How To's. This is not an exact science but its the way I did it. So play at your own risk.
This is the 09 emblem and backup camera add on to a 04-08 tailgate. My work is on my 06 but I assume the other years are the same. The pictures are from a camera phone and (yes it has some crazy line in each picture) because I broke my camera. Sorry
First remove the original emblem. The best way is to use a heat gun and melting the double sided tape. There are two holes underneath were pins fit in but nothing is screwed or bolted. So once its heated good use fishing string and run it from one side to the other. You will hit the two pins so just work around them. Or you can do what I did but I would not recommend it:
Thanks to Buck Knives test knife
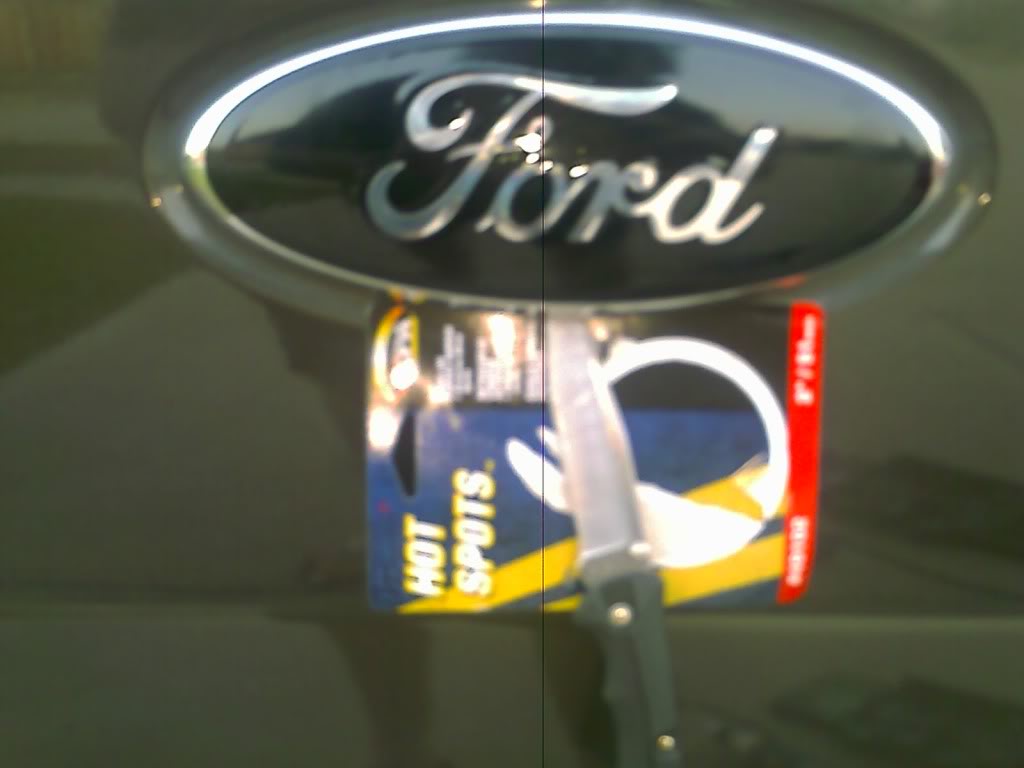
I used the piece of cardboard to protect against scratches and slid the knife straight up from the bottom and after a little prying it comes right off.
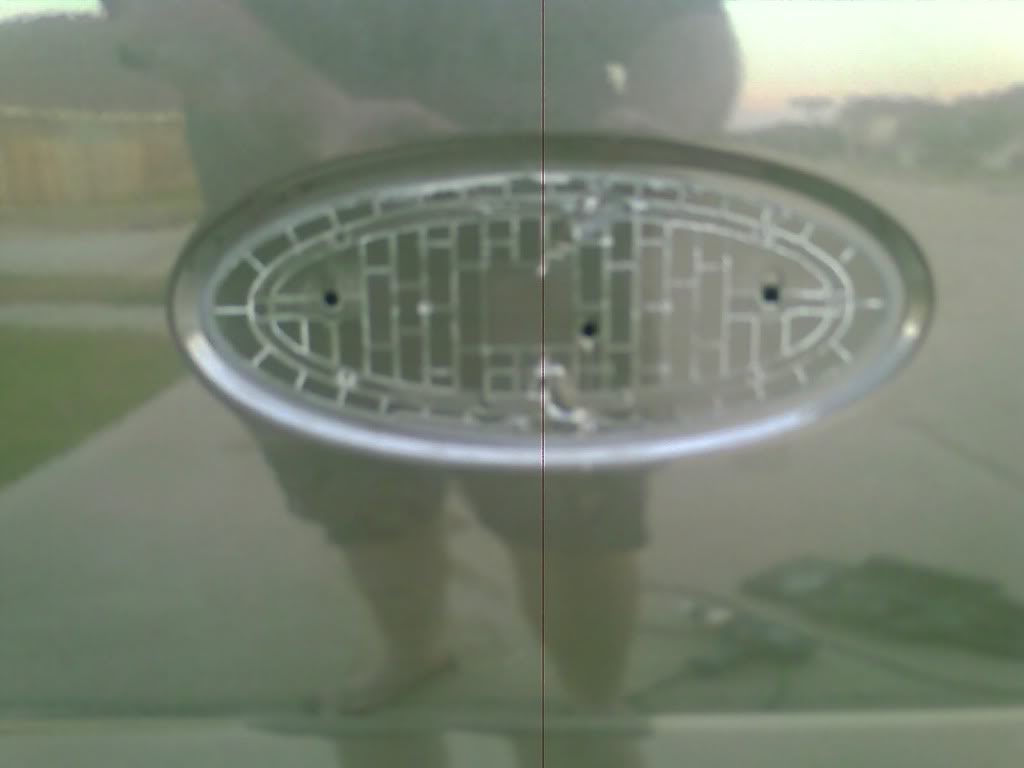
This is what you will be left with.
Next, you will have to do a little cutting to make the camera assembly fit and the emblem sit flush. I am old school and used sheet metal cutters and a metal file to create my opening (and I don't have any other tools to cut metal ). Once you have the opening it should look something like this. Some of you on here can probably make a prettier hole.

Next post will be wiring.
This is the 09 emblem and backup camera add on to a 04-08 tailgate. My work is on my 06 but I assume the other years are the same. The pictures are from a camera phone and (yes it has some crazy line in each picture) because I broke my camera. Sorry
First remove the original emblem. The best way is to use a heat gun and melting the double sided tape. There are two holes underneath were pins fit in but nothing is screwed or bolted. So once its heated good use fishing string and run it from one side to the other. You will hit the two pins so just work around them. Or you can do what I did but I would not recommend it:
Thanks to Buck Knives test knife
I used the piece of cardboard to protect against scratches and slid the knife straight up from the bottom and after a little prying it comes right off.
This is what you will be left with.
Next, you will have to do a little cutting to make the camera assembly fit and the emblem sit flush. I am old school and used sheet metal cutters and a metal file to create my opening (and I don't have any other tools to cut metal
). Once you have the opening it should look something like this. Some of you on here can probably make a prettier hole.Next post will be wiring.
Last edited by thenewbreed; 07-14-2009 at 07:37 AM.
#2
07-11-2009, 03:43 AM
Join Date: Jun 2006
Location: SE TX
Posts: 1,605
Likes: 0
Received 0 Likes
on
0 Posts
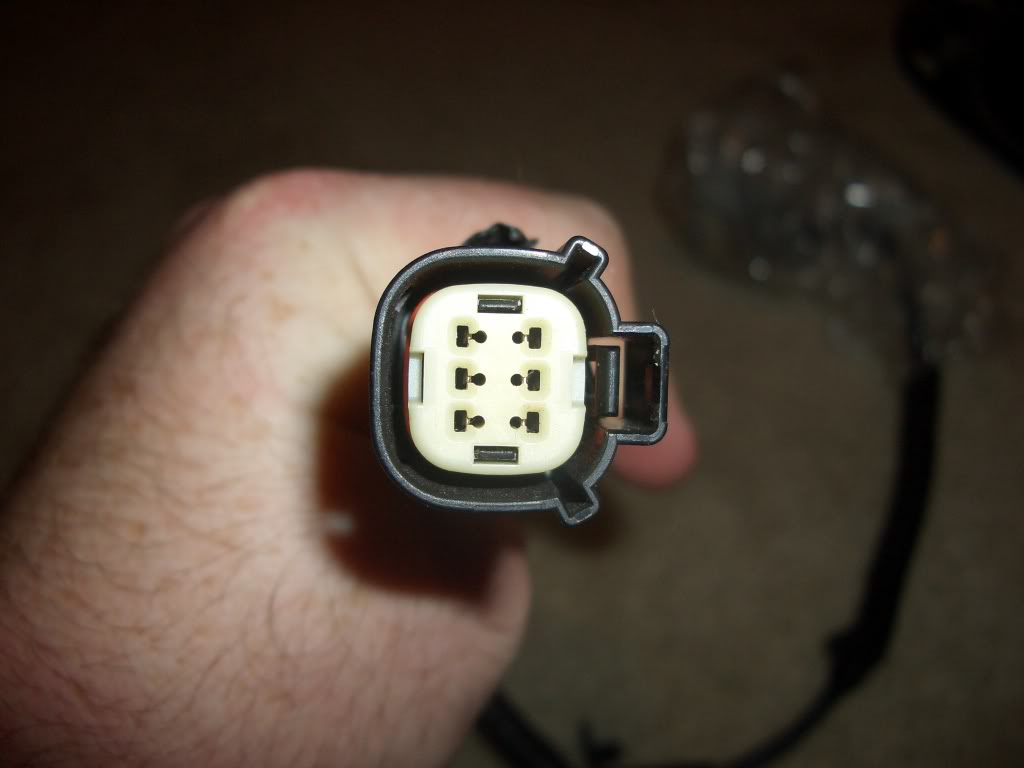
I cut the harness off here.
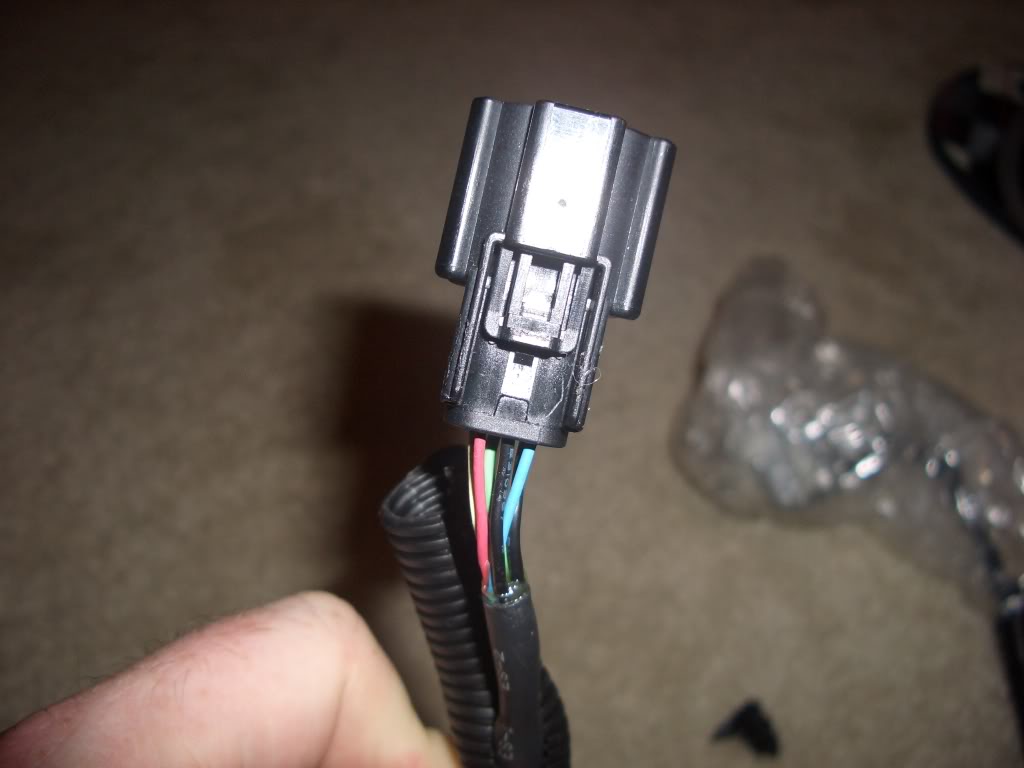
With the harness facing you like this. Use this number order
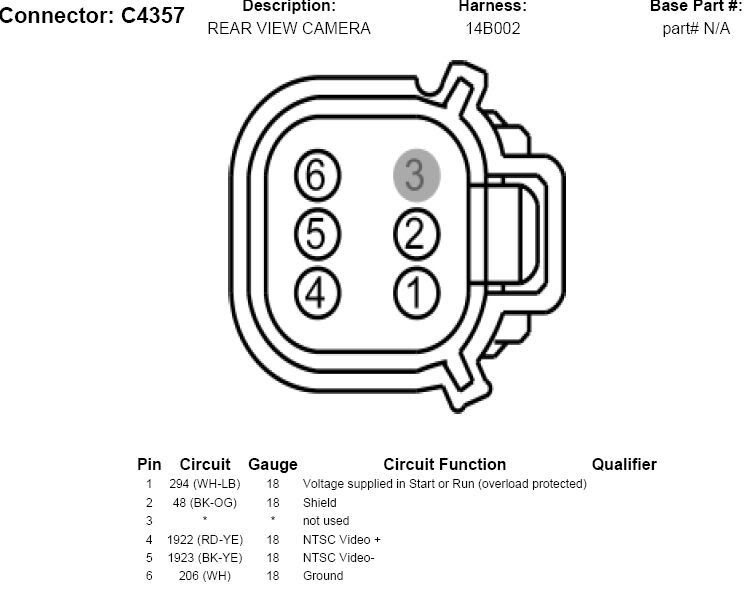
The coloring is a little different because I think this is an 08.
The harness I have is
1- red/ 12v + voltage
2- black/ shield I did not use
3- blue/ not used I think for audio
4- white/ video +
5- green/ video -
6- black/ -ground
Run the #1 12v and #6 ground to wherever you want power from. I spliced into the reverse bulb so when it receives power the camera comes on.
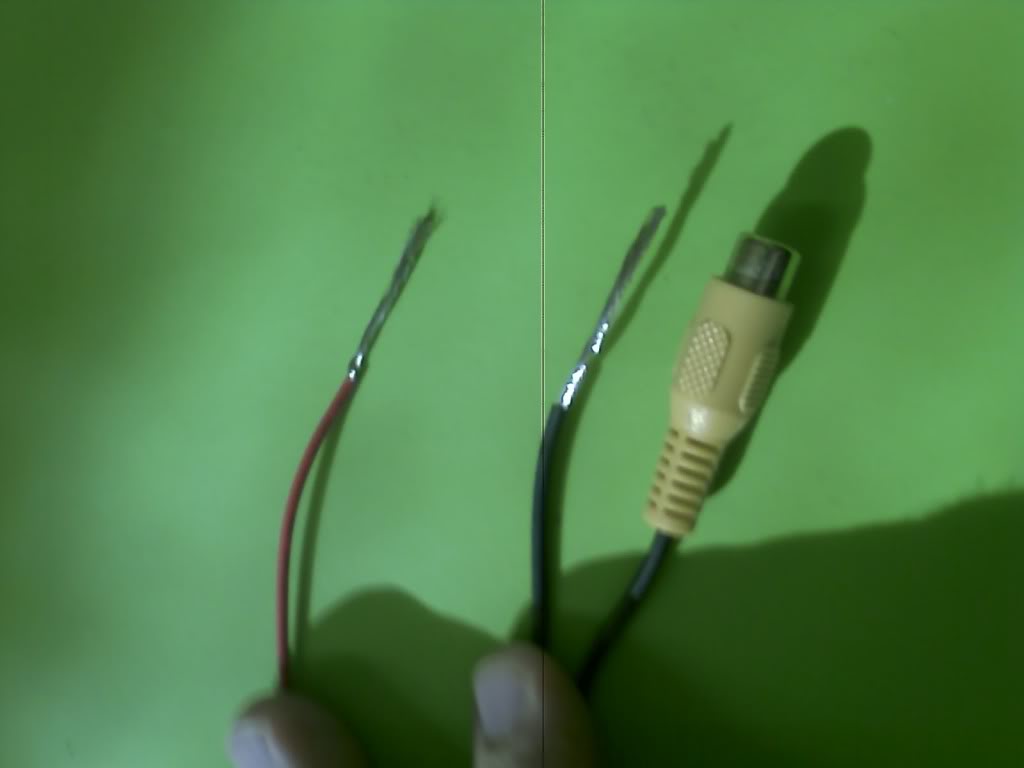
With the video I used a yellow video cable and ran it too my head unit. When you cut open the video cable you will see a bare wire and a smaller covers wire. The bare wire is negative to wire it too #5 green video negative and the covered wire is spliced to #4 white video +. You will only need #1#6#4#5 wires.
TO fish the wiring through the tailgate is just dumb luck. I used and old antenna and wrapped the video, 12v and negative around it and ran it straight down from the hole in front of the inner steel beam going across the tailgate and there is a small hole on the bottom of the tailgate where they come out. From there I ran it across under the truck to my taillight and this is were I did the power splice.
So I have a 12v and ground wired to my reverse taillight a yellow video cable running down my chassis and into the truck behind my dash and into my head unit. I ran this female video connector because my clarion has a male on the other side. But both are wired up the same way.
#3
07-11-2009, 03:47 AM
Join Date: Jun 2006
Location: SE TX
Posts: 1,605
Likes: 0
Received 0 Likes
on
0 Posts
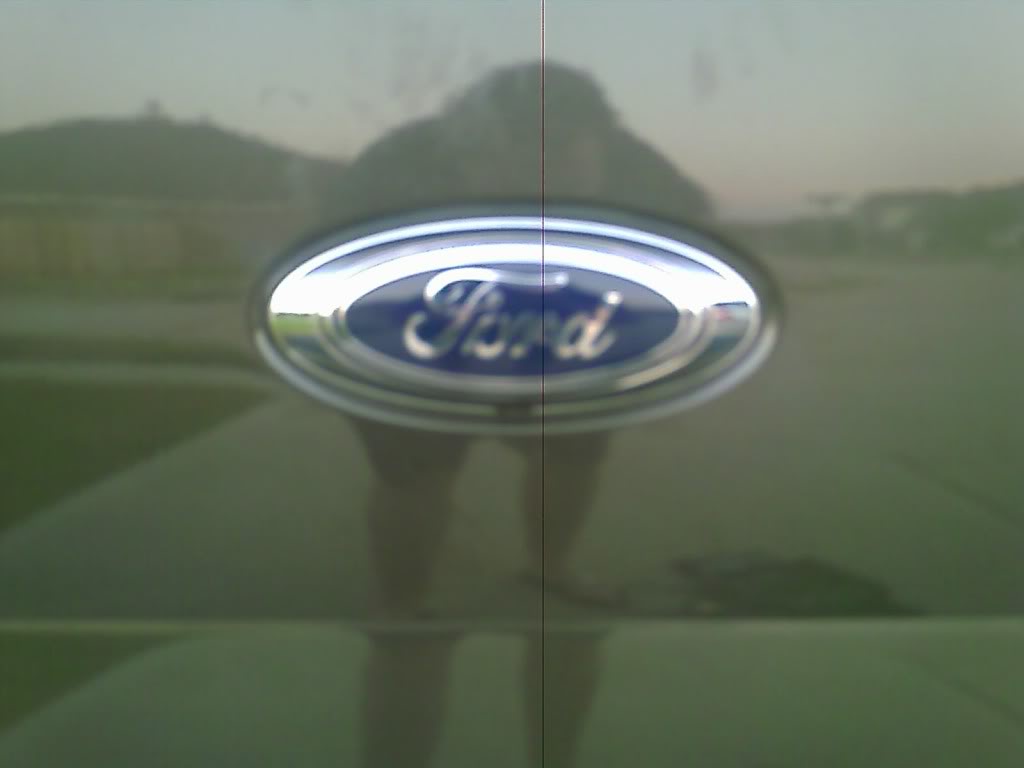
Once that is all done I had to make the hole for the camera a little bit bigger at the bottom to make the camera barrell fit. But once that was done it fit nice and snug. Back on with some double sided tape and a little black RTV gasket sealant and its nice and cozy and ready to work.
Here is the finished product and one of it as seen on my screen.
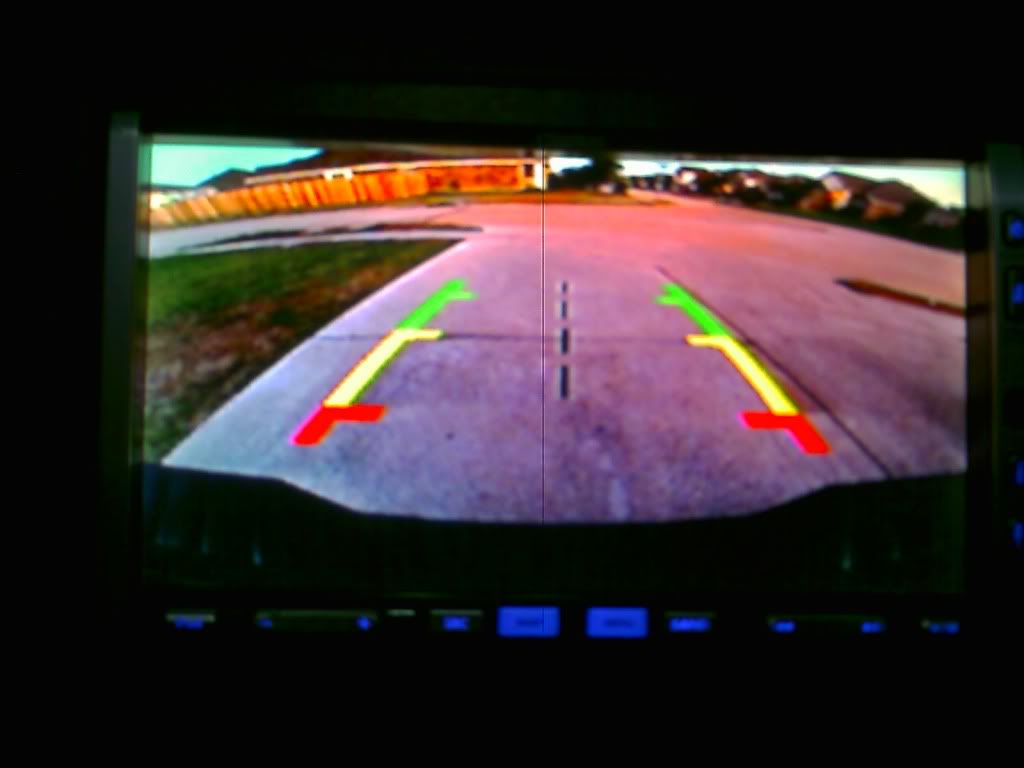
The picture will probably be better if the wiring is soldered but I did not do that. Just basic splicing and electrical tape. I have probably missed some stuff so if I did just ask and Ill do my best to answer.
Here is the finished product and one of it as seen on my screen.
The picture will probably be better if the wiring is soldered but I did not do that. Just basic splicing and electrical tape. I have probably missed some stuff so if I did just ask and Ill do my best to answer.
Last edited by SSCULLY; 07-11-2009 at 08:36 AM.

#5
07-12-2009, 12:38 AM

Senior Member

#7
07-13-2009, 10:20 PM


Join Date: May 2008
Location: ohio
Posts: 1,592
Likes: 0
Received 0 Likes
on
0 Posts
Trending Topics
#8
07-14-2009, 08:23 AM

Member
Join Date: Oct 2004
Location: PRAIRIEVILLE, LA
Posts: 41
Likes: 0
Received 0 Likes
on
0 Posts
#9
07-14-2009, 08:39 AM

Senior Member
Join Date: Mar 2007
Location: N.E. Ohio
Posts: 2,869
Likes: 0
Received 0 Likes
on
0 Posts


#12
08-02-2009, 05:19 AM

Join Date: Jun 2006
Location: Louisiana
Posts: 428
Likes: 0
Received 0 Likes
on
0 Posts


