Cowl Removal and Painting Step-By-Step (56K Waring)
#91
 06-11-2011, 11:47 AM


Senior Member
#92
10-13-2011, 04:35 PM

Senior Member
Join Date: Sep 2011
Location: Walker County Alabama
Posts: 133
Likes: 0
Received 0 Likes
on
0 Posts
#93
10-13-2011, 05:19 PM

Yes, they will I removed the keys on my 05 to change the wiper position.
__________________
Jim
Jim
#95
12-29-2011, 12:22 PM

I had to replace the wiper hoseline T or Y-set becaused it had cracked so I looked here to see how to take off the cowl. Thanks it help tremendously in taking off and I thought while I had it off might as well clean it up and paint it. Looks great! The only thing I hate is not being able to replace the rubber on the end of each side that was so brittle that it fell apart in my hand.

#97
09-03-2012, 11:37 PM
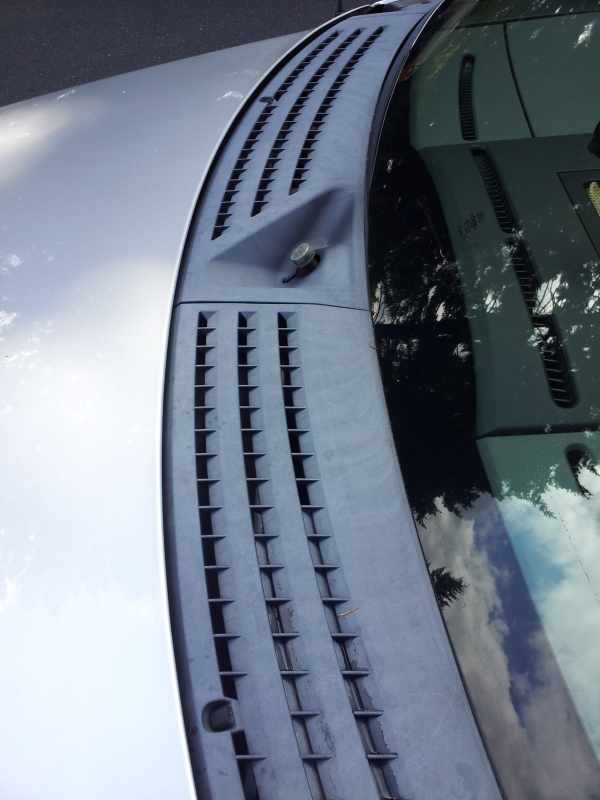
Here are the results of me painting the wiper cowl I decided just to paint it silver and use Hammerite just to do something different.
Cleaned it really well using Simple green and a 3M scratch pad then used alcohol.
Before
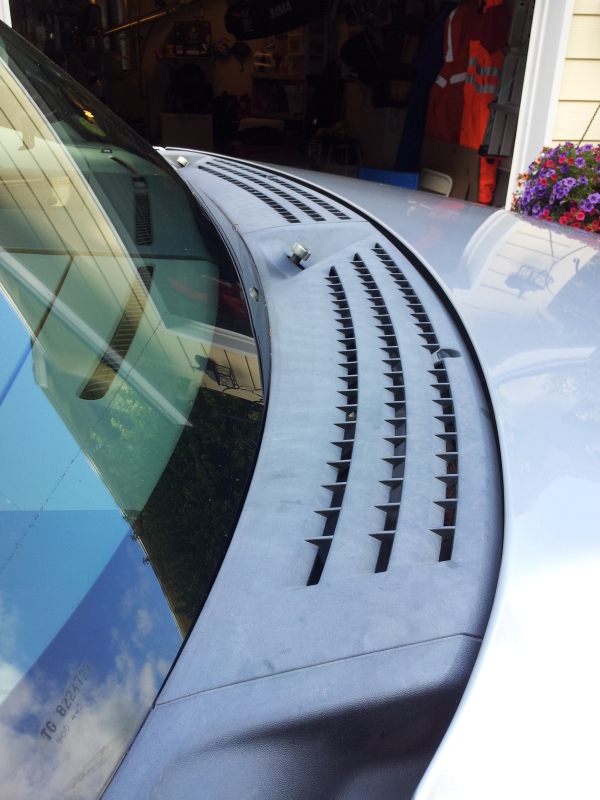
During
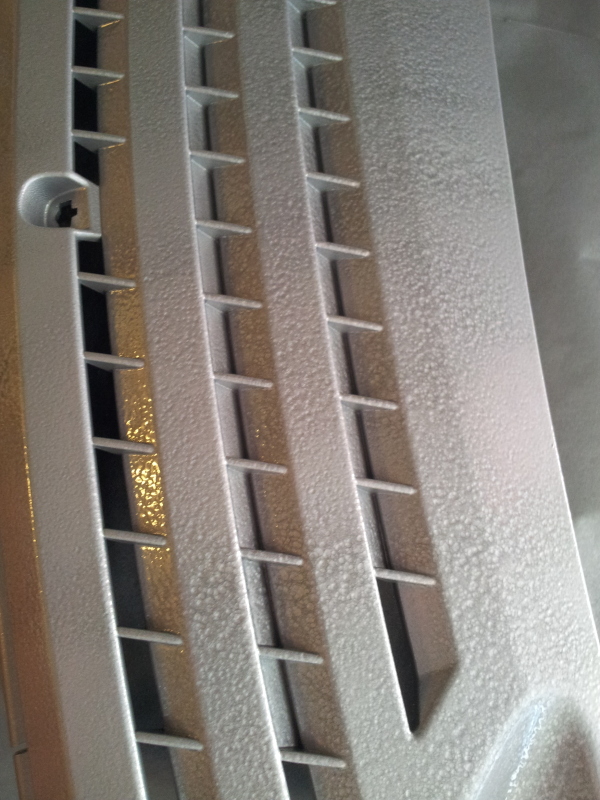

After
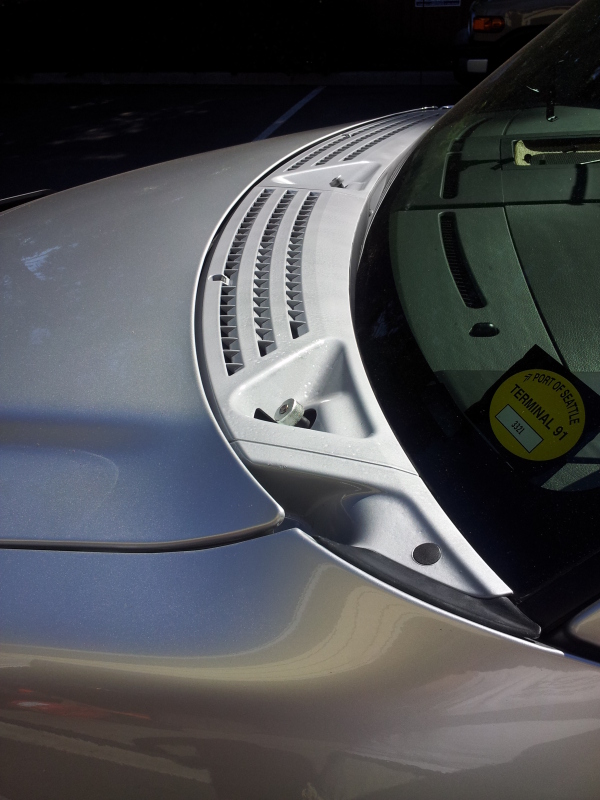
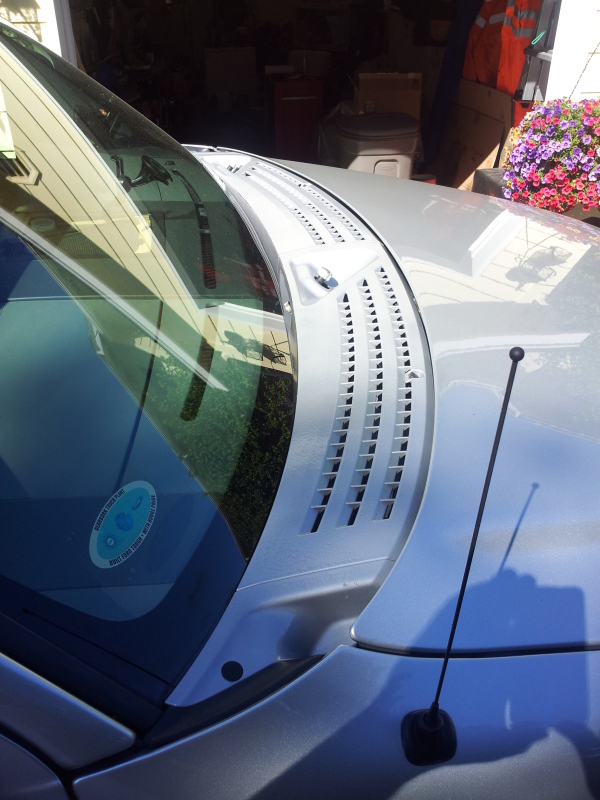
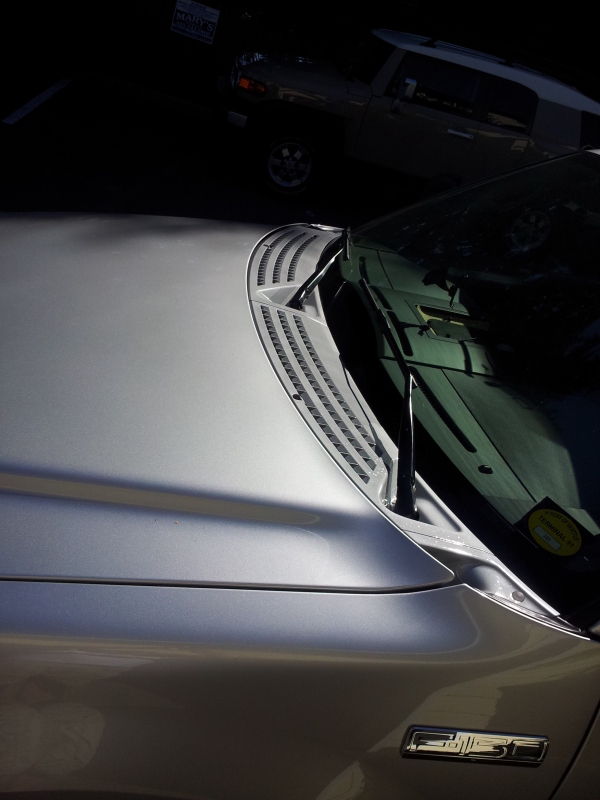
I did manage to put a scratch in each side when I installed it where the hood meets the black rubber which i gave 303 and then mothers back to black.
Once again thanks for the write up made everything easy as cake.
P
Cleaned it really well using Simple green and a 3M scratch pad then used alcohol.
Before
During
After
I did manage to put a scratch in each side when I installed it where the hood meets the black rubber which i gave 303 and then mothers back to black.
Once again thanks for the write up made everything easy as cake.
P
Last edited by Peladho; 09-03-2012 at 11:49 PM. Reason: my spelling *****
#98
12-13-2012, 10:57 PM

Junior Member
Join Date: Nov 2012
Location: Eastern NC
Posts: 1
Likes: 0
Received 0 Likes
on
0 Posts
Has anyone tried using the plastidip on the cowl and bed rails? As for the cowl ends I just ordered new ones from cowlends.com. I haven't gotten home to see how they work (I'm a truck driver that stays out 6 to 8 weeks) but I saw a lot about them on another part of this forum. I'm also looking for any info on removing all the extra chrome like the "B" pillars and the door handles. I can live with it if I have to but I'd rather not, it's a bit much.
#99
04-05-2013, 02:01 AM

Member
Join Date: Jun 2007
Location: Salt Lake City, UT
Posts: 23
Likes: 0
Received 0 Likes
on
0 Posts
Plasti-Dip
I did that just today. I chose Plasti-Dip after hearing about someone else using it, and I'm glad I made that choice over paint. I suspect it will hold up to flaking much better than paint. As for the results, well, they look like new and more natural than the high gloss I've seen in photos in this thread. If you want something that looks new but doesn't draw attention to itself, this is the way to go. I came up just short of completing the job with one $6 can (cowls, 2 bed caps and the tailgate cap. My plastic was in pretty bad shape after 9 years, so others might be able to make it. But, I've got extra for the fender guards or possibly the door handles/guards if need be.
Also, for those interested in doing the bed rails, don't just yank up on them and possibly break some of the tabs. If you take a moment and look underneath, you'll see where the tabs are. If you pinch them together, you can lift the rail starting at one end and work your way down. The tabs are basically plastic spreader bolts.
Now, for the pictures:
Picture of bed rail in bad shape. It looks like a dirty footprint, but that's actual fading.
<a href="http://www.flickr.com/photos/14638031@N08/8621100662/"><img src="http://farm9.staticflickr.com/8397/8621100662_731b738749_b.jpg" width="1024" height="683" alt="Bed rails before rejuvenation"></a>
Here's a close-up of how bad things were
<a href="http://www.flickr.com/photos/14638031@N08/8620000865/"><img src="http://farm9.staticflickr.com/8266/8620000865_3b26298937_b.jpg" width="1024" height="683" alt="Close-up"></a>
Another part
<a href="http://www.flickr.com/photos/14638031@N08/8621099426/"><img src="http://farm9.staticflickr.com/8239/8621099426_c3f9f63730_b.jpg" width="1024" height="683" alt="Another close-up"></a>
OK, now that you've seen the worst, here's the result, installed. Any imperfections you see here are just my dirty fingerprints from the re-install.
<a href="http://www.flickr.com/photos/14638031@N08/8620001257/"><img src="http://farm9.staticflickr.com/8242/8620001257_cb3bdef293_b.jpg" width="683" height="1024" alt="Untitled"></a>
Here's the cowl before the wipers were installed (I couldn't resist hitting them with some black paint to freshen them up as well)
<a href="http://www.flickr.com/photos/14638031@N08/8621101508/"><img src="http://farm9.staticflickr.com/8241/8621101508_7f0ab3790f_b.jpg" width="1024" height="683" alt="Another view of the cowl"></a>
Last edited by timhood; 04-06-2013 at 05:08 PM.
#100
04-21-2014, 01:09 AM

Senior Member
Join Date: May 2013
Location: South Carolina
Posts: 420
Likes: 0
Received 0 Likes
on
0 Posts
#101
04-23-2014, 01:14 PM

Thanks.
#102
04-23-2014, 01:49 PM

I was just thinking of this thread the other day...
Can anyone confirm if these are the clips that hold down the cowl

ClipsAndFasteners.com
I'm missing one and I want to tackle this project this summer. Thought about ordering these. Although they come in packs of 25.
Can anyone confirm if these are the clips that hold down the cowl
ClipsAndFasteners.com
I'm missing one and I want to tackle this project this summer. Thought about ordering these. Although they come in packs of 25.
#103
04-29-2014, 08:56 PM

I was just thinking of this thread the other day...
Can anyone confirm if these are the clips that hold down the cowl
ClipsAndFasteners.com
I'm missing one and I want to tackle this project this summer. Thought about ordering these. Although they come in packs of 25.
Can anyone confirm if these are the clips that hold down the cowl
ClipsAndFasteners.com
I'm missing one and I want to tackle this project this summer. Thought about ordering these. Although they come in packs of 25.


