When you click on links to various merchants on this site and make a purchase, this can result in this site earning a commission. Affiliate programs and affiliations include, but are not limited to, the eBay Partner Network.
Giving my 2005 F150 a little facelift. I am a on this forum and couldn't really find a good spot to post a project thread and thought here would be as good as any.
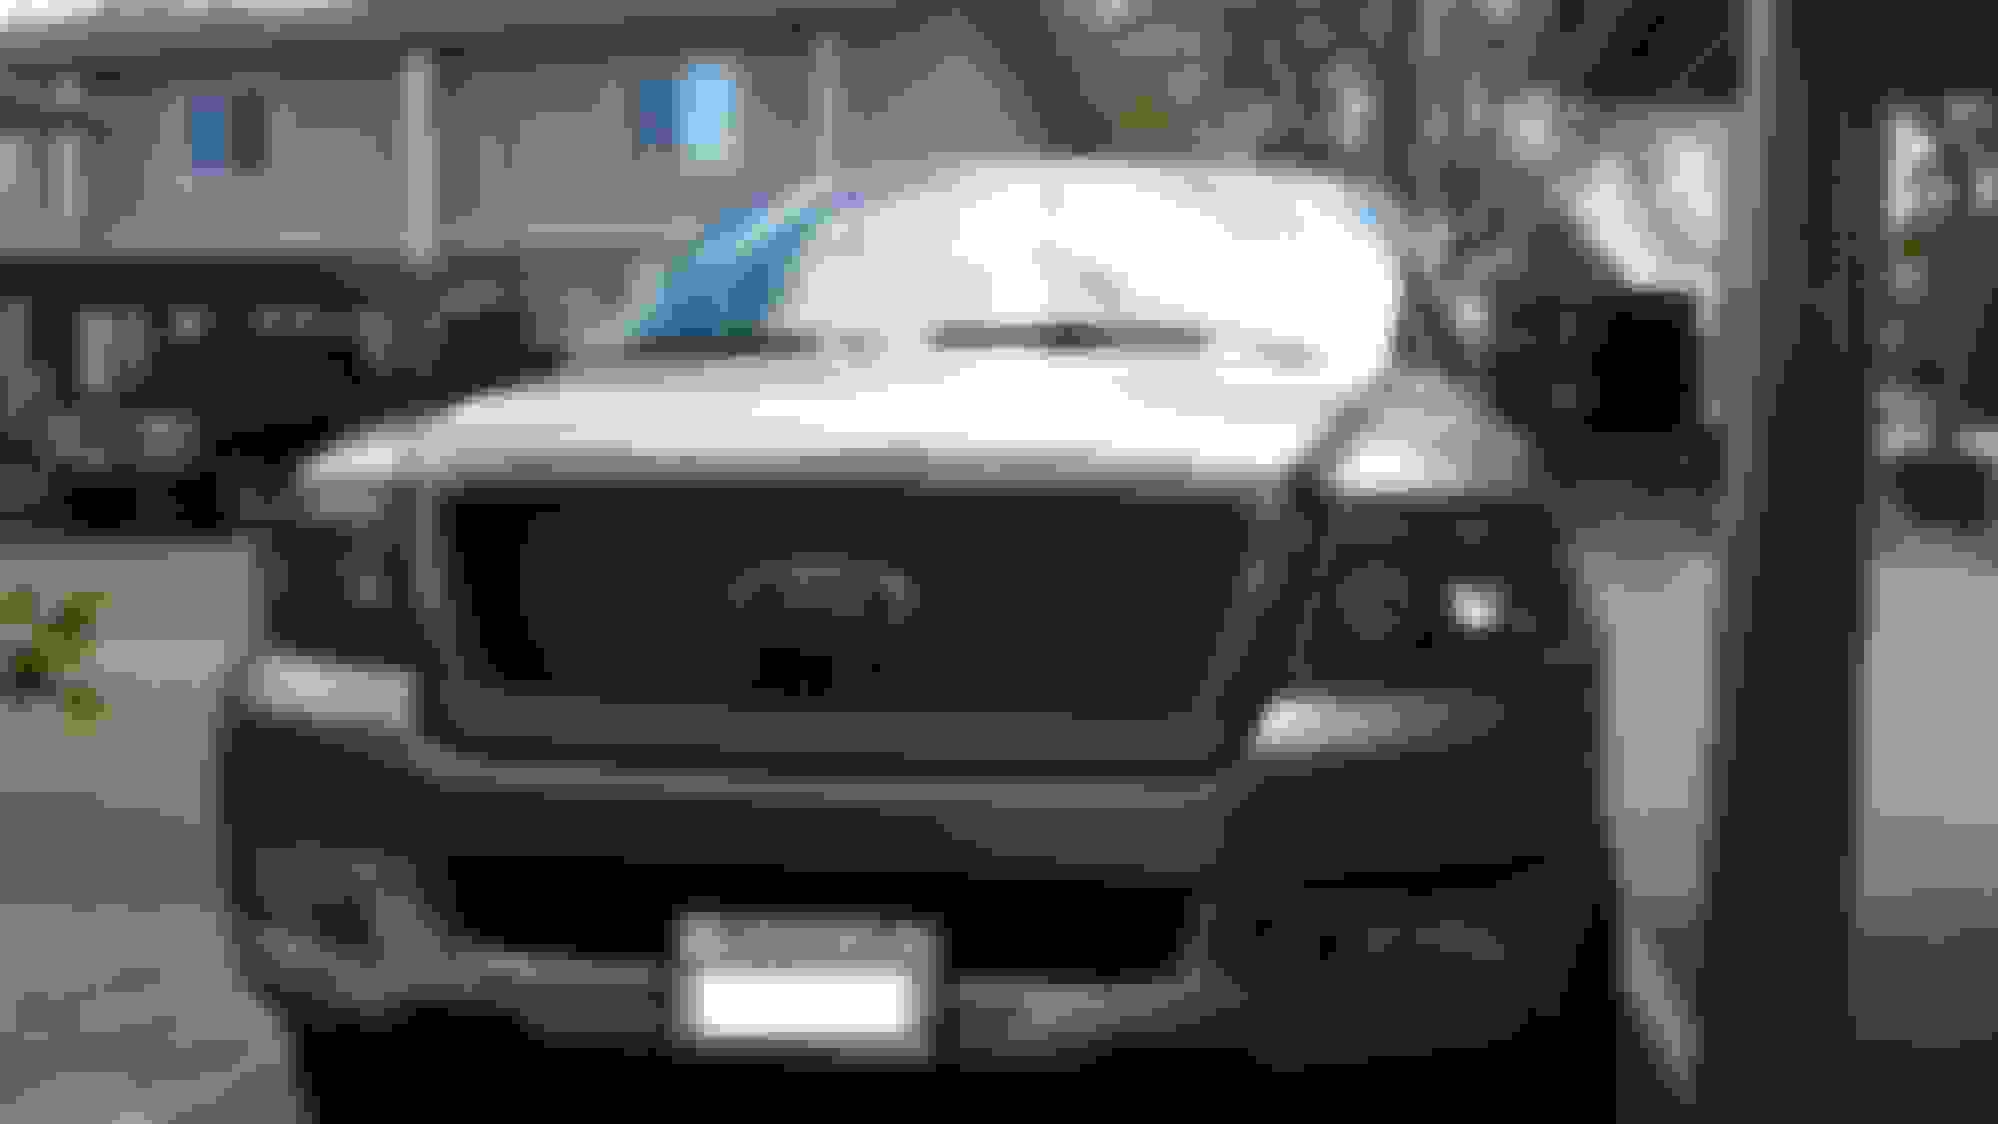
2005 F150 Lariat Supercrew 4x4, Color is "Arizona Beige". Its pretty much stock at the moment except for a new touch screen pioneer deck and Spec-D projector head lights.
Whats going on:
-Black 18inch XD Monster wheels with 275/70R18 General Grabber AT2 tires
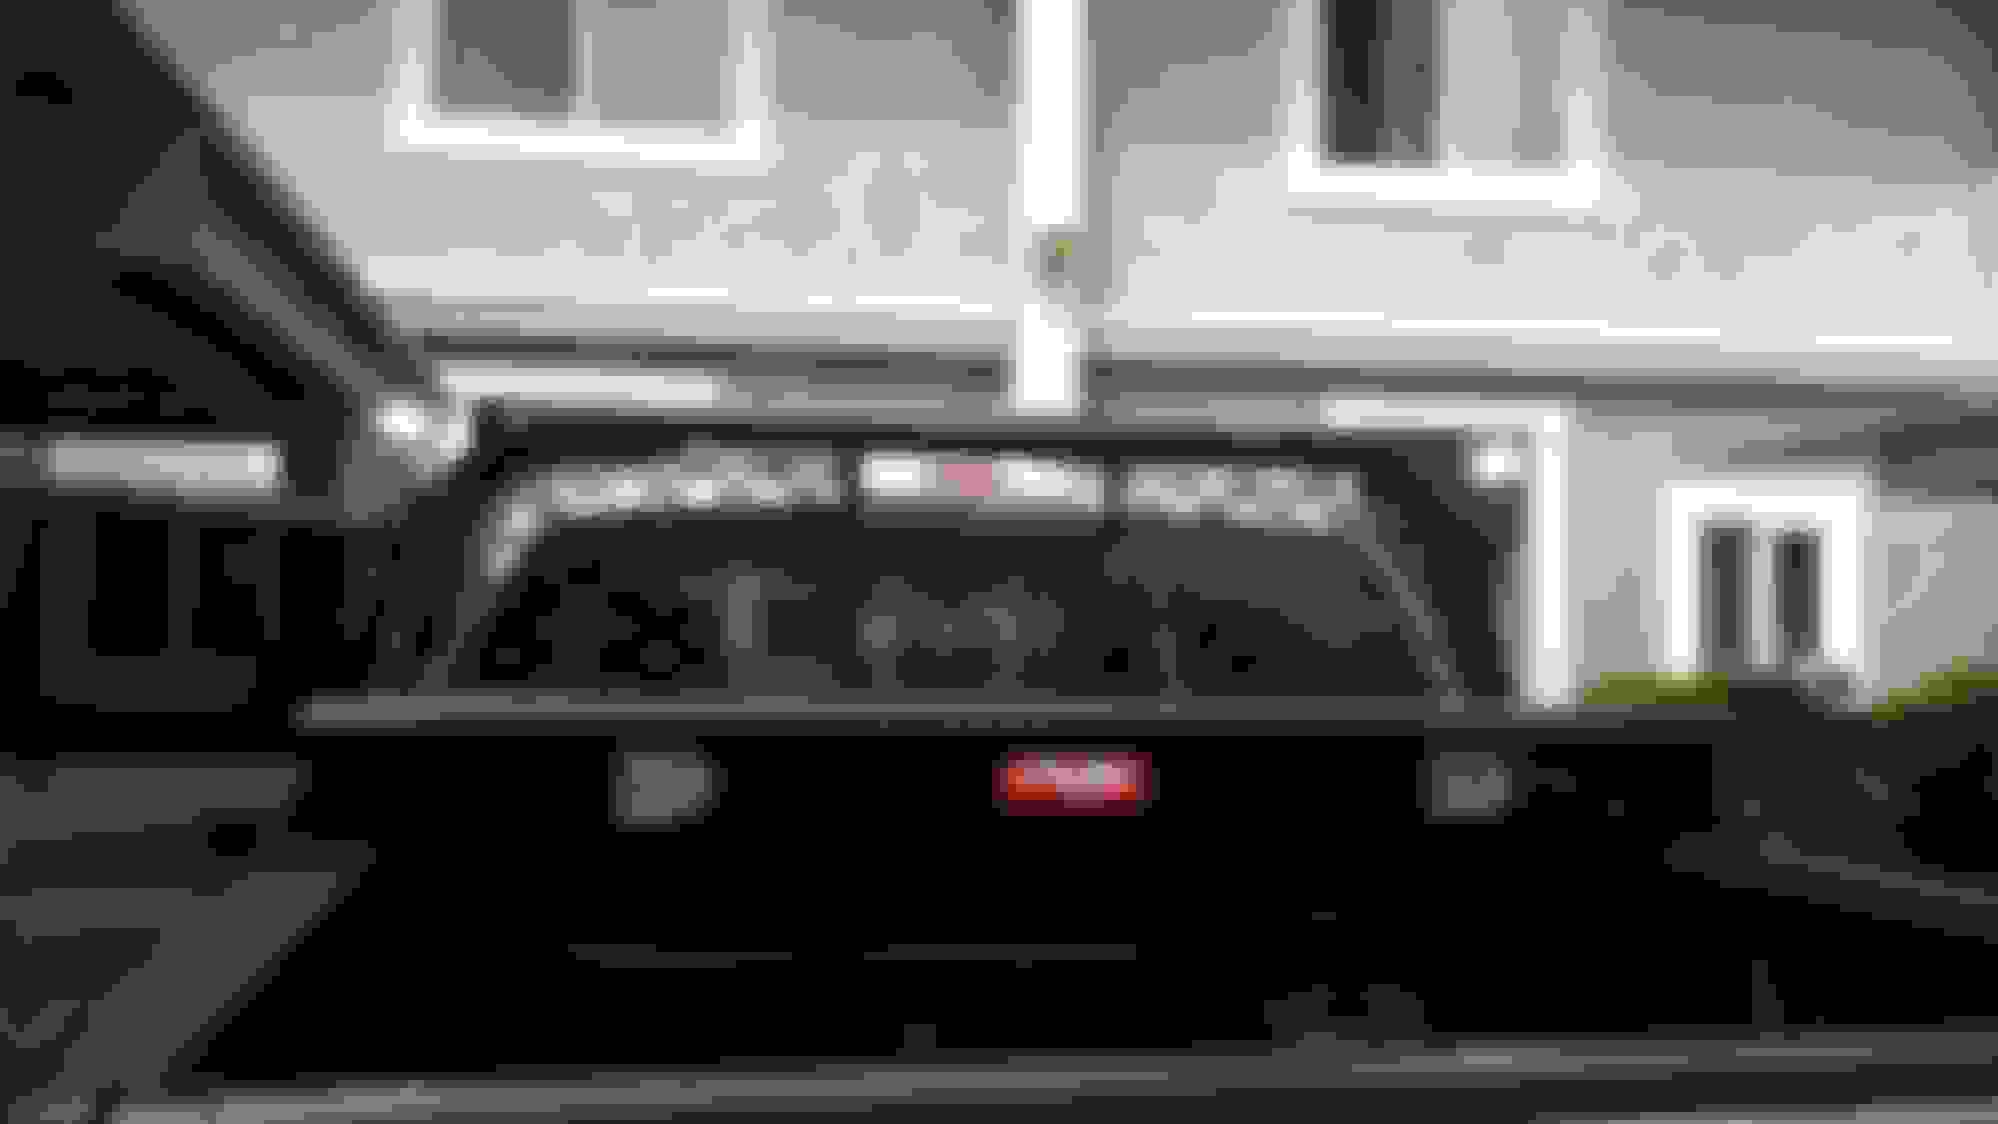
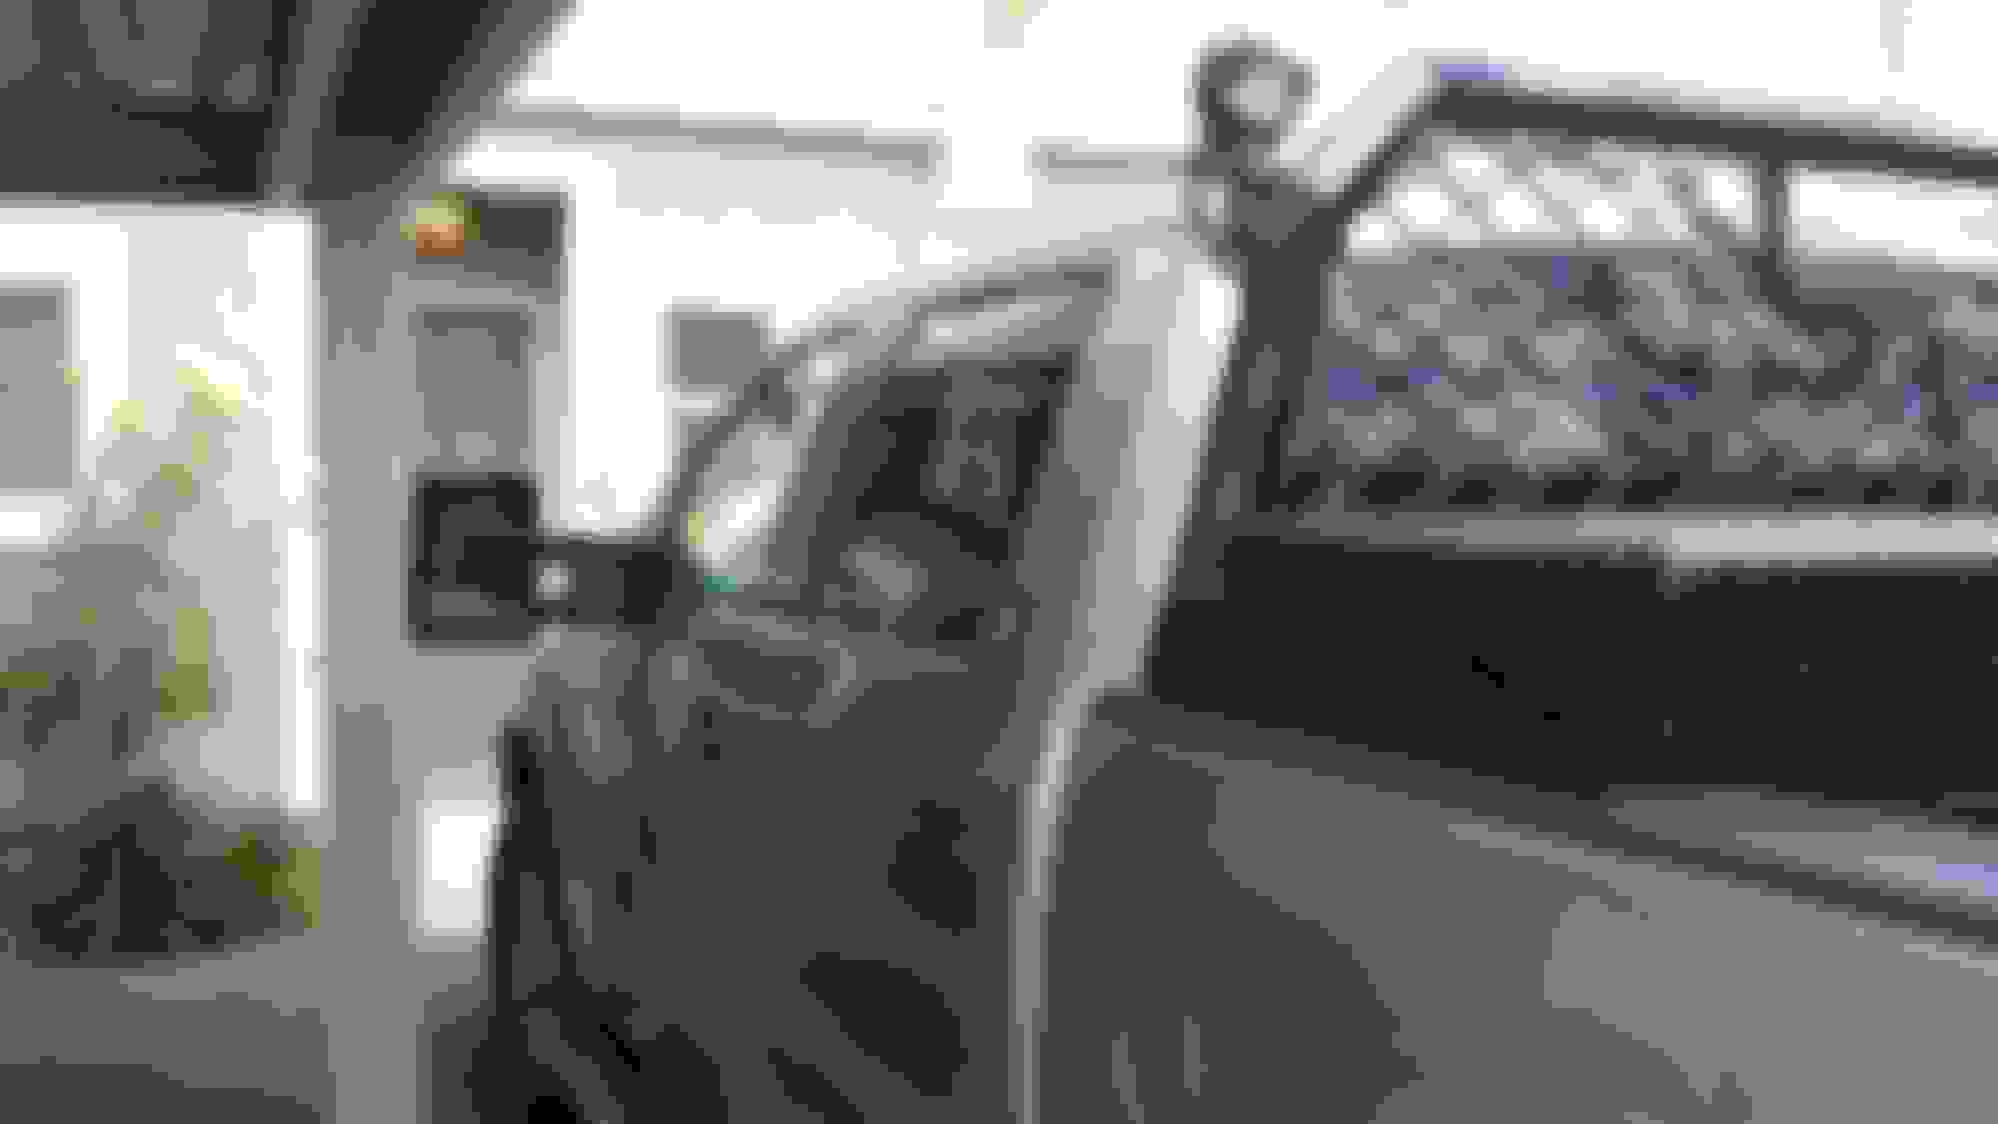
-DeeZee cab rack, black
-DeeZee tool box, Black
-Cree led flood lights to mount on the cab rack
-Fender Flares
-Power and heated towing mirrors with puddle lamp
-2inch level
-Black plati dip on bumpers and other chrome.
-Led bulbs on all light fixtures.
Where I am at:
So far, only the cab rack, flood lights, tool box, towing mirrors, and LED light bulbs have gone in.
How I wired the cab rack lights:
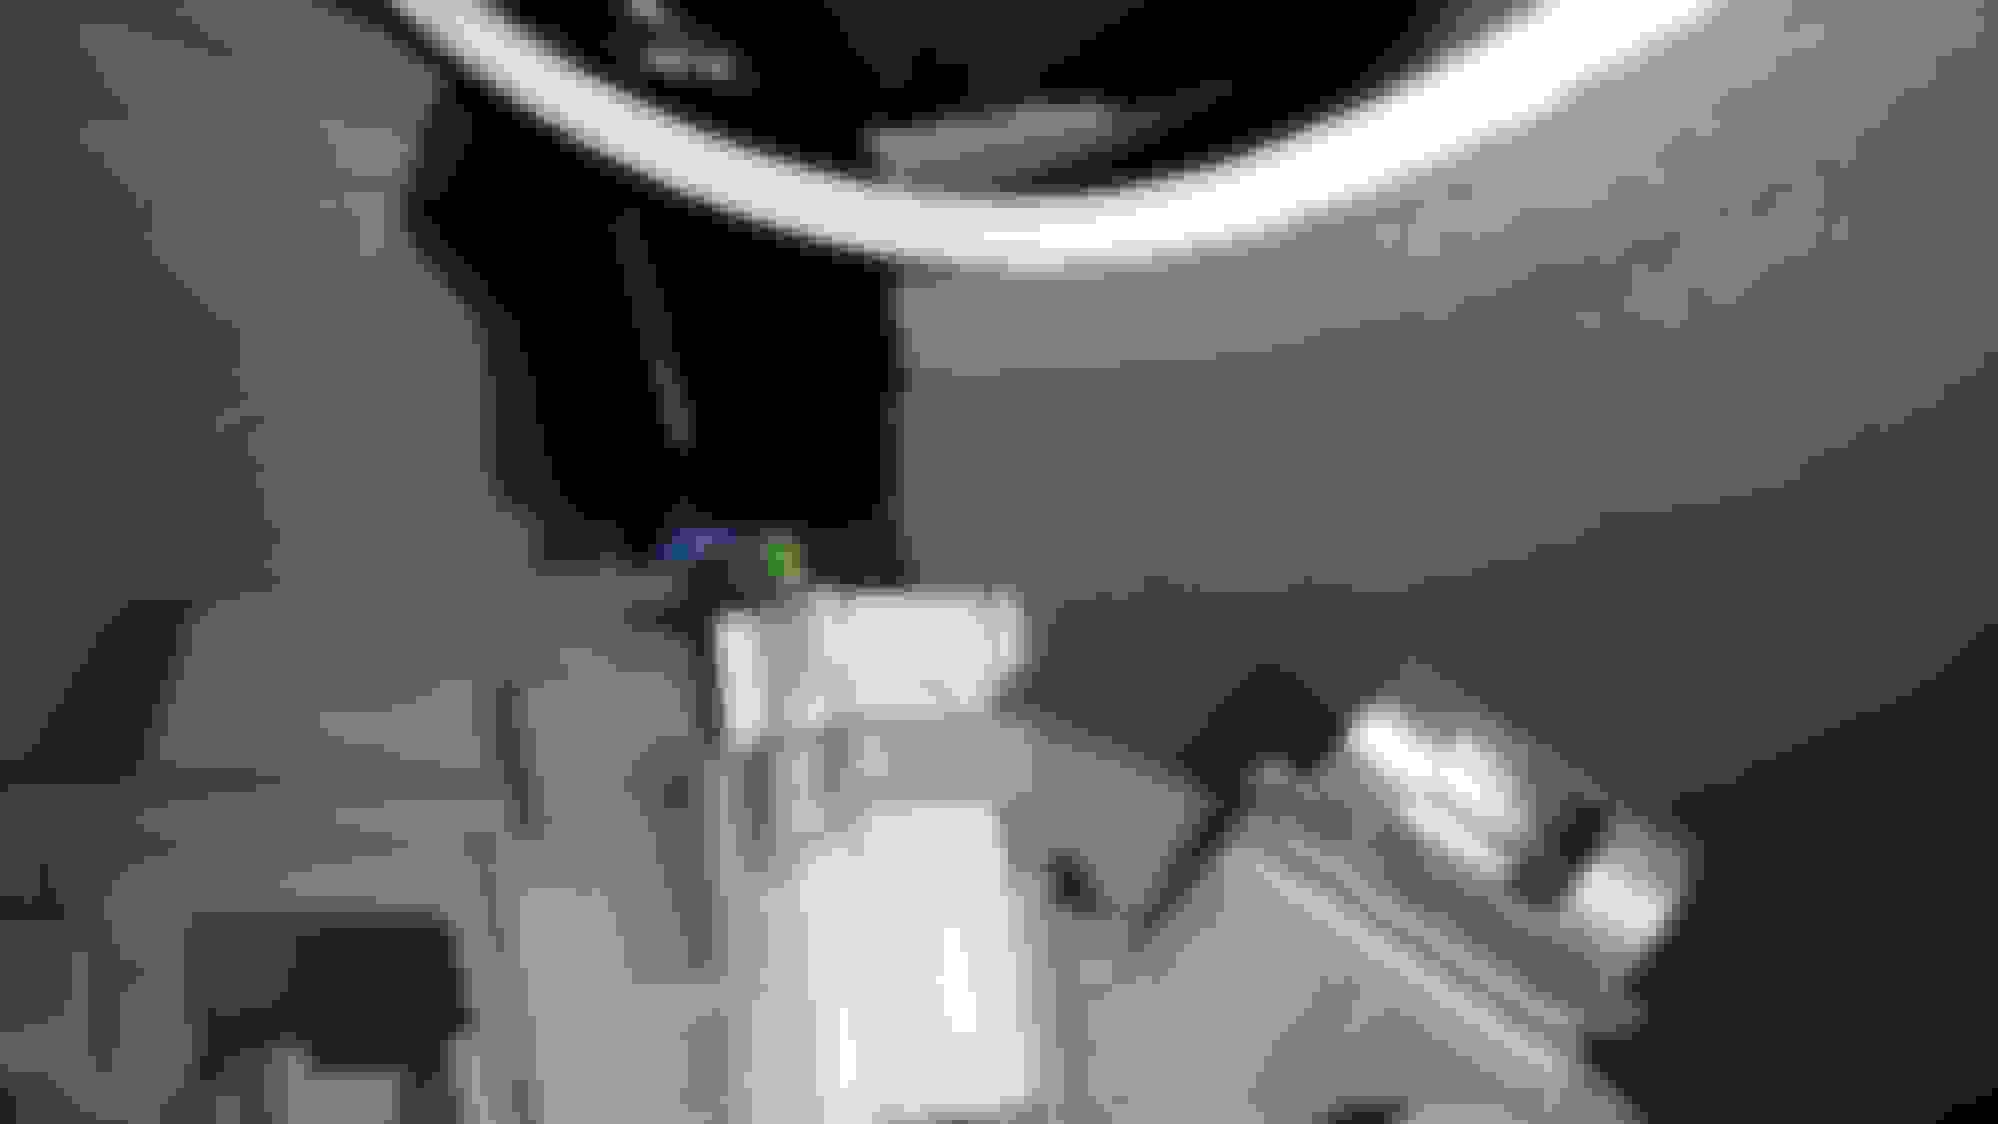
I took off the cargo light housing and then pulled off the dome light in the backseat. I attached the wires from the cab rack lights to a wire coat hanger and pulled it through to the dome light.
I thought this would be the easiest way to get to the C pillar and then run the wires down under the sill plates to the front of my cab. But when the dome light was dangling down I saw it had three wires. Then I remembered that there must be a wire connected to the battery because I can still turn the dome light on without my keys being in the ignition. I pull out the test light, find the hot wire, and use a quick connector. I added a light switch that came with a fuse and ground wire so I am not worried about any electrical issues.
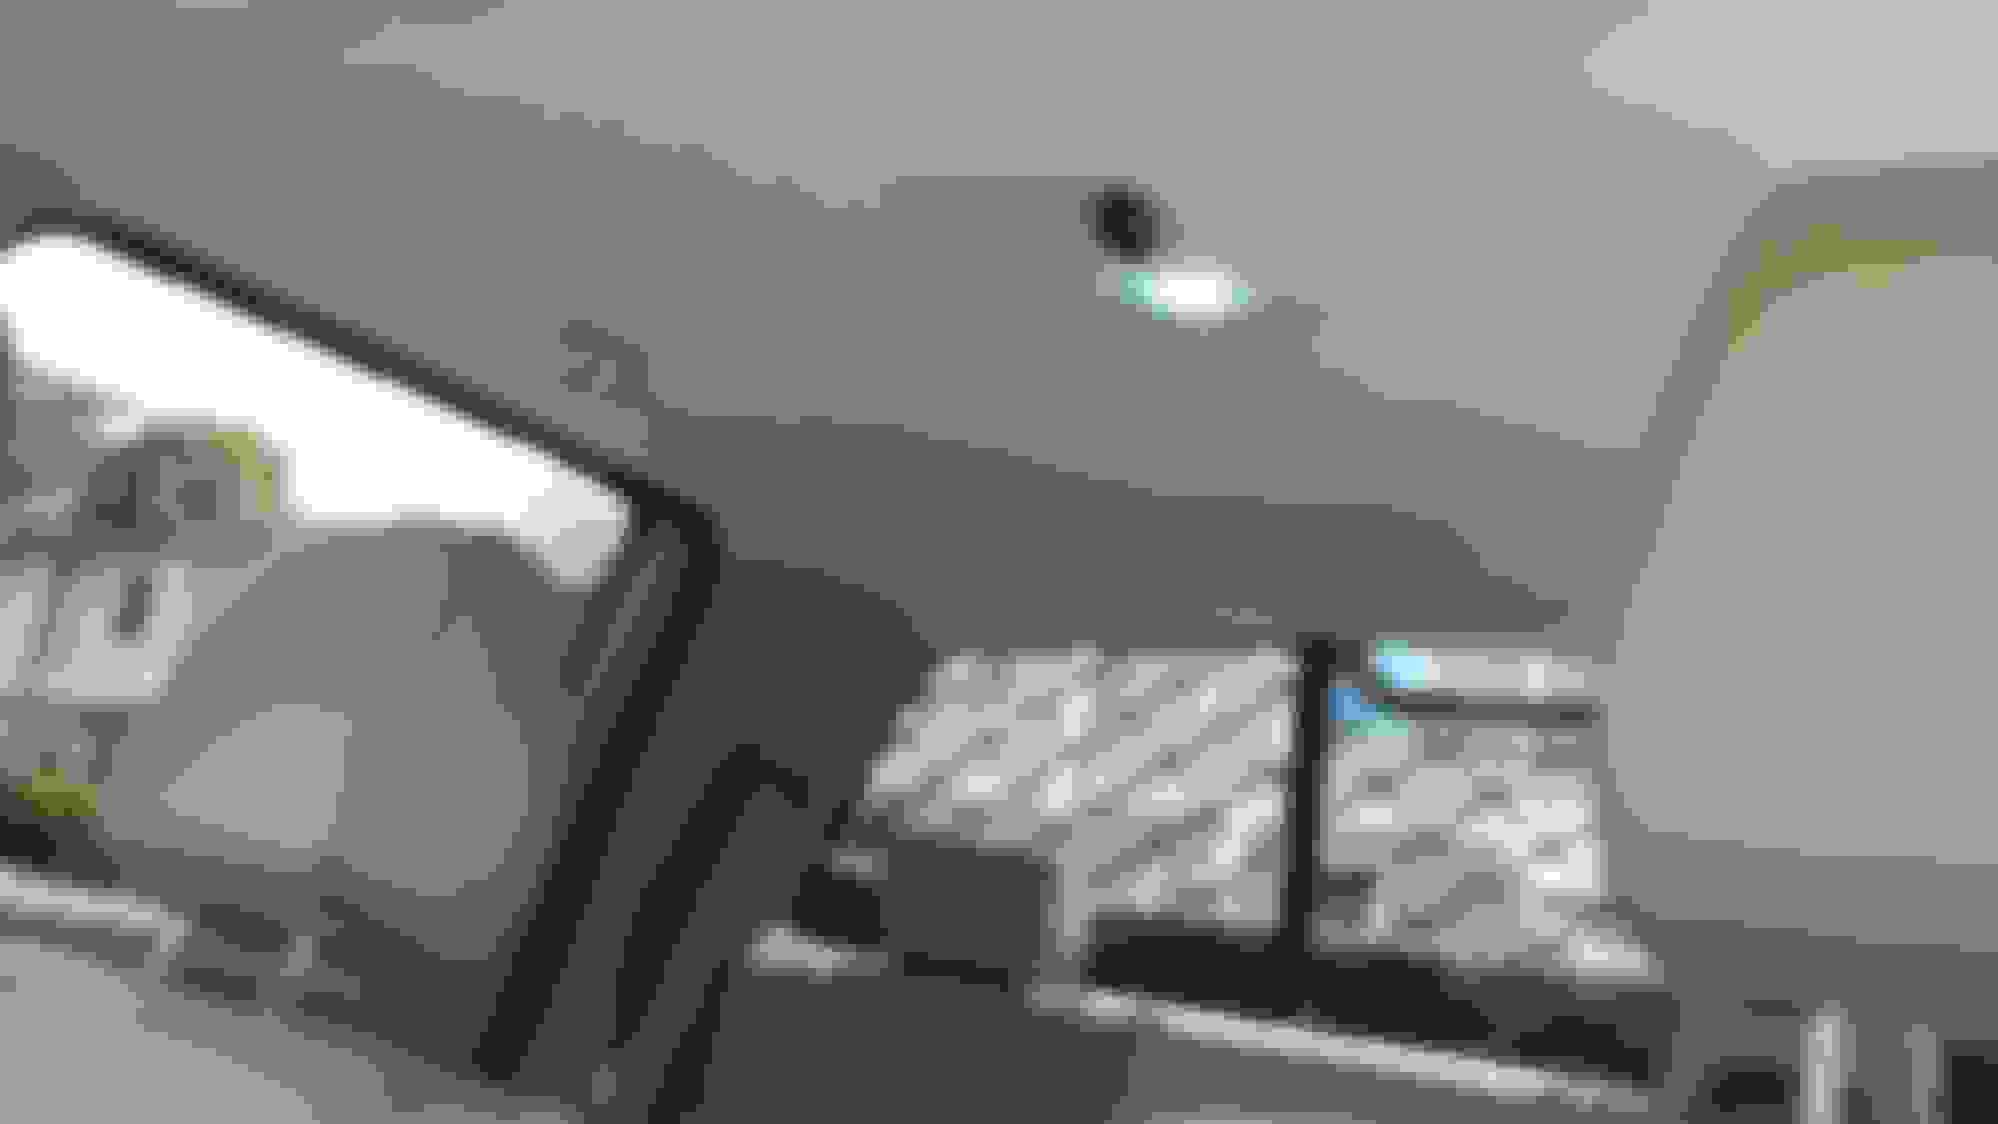
I mounted the light switch right in front of the dome light. This may look tacky to some, but I like the location. Its easily accessible from anywhere in the cab. If I'm connecting a trailer or what have you, its a lot easier to reach from the back door then have to climb in to the front seat. Also if I am backing up, no need to reach forward. The lights are bright as $***!
Wires running under the cargo lamp housing.
Hot wire quick connect (looks ugly, i know)
Light Switch. I'm going to swap it out with one that looks a little better, but I like where it's at.
Cree LED flood lights, super bright!
Spec- D heated power towing mirrors.
Spec-D projector headlights with LED's and 8000K HID kit.
That's all for now folks. Once it's all said and done, I'll put some better pics up.
Last edited by Livermo150; 06-02-2015 at 02:46 PM.
Giving my 2005 F150 a little facelift. I am a on this forum and couldn't really find a good spot to post a project thread and thought here would be as good as any.
2005 F150 Lariat Supercrew 4x4, Color is "Arizona Beige". Its pretty much stock at the moment except for a new touch screen pioneer deck and Spec-D projector head lights.
Whats going on:
-Black 18inch XD Monster wheels with 275/70R18 General Grabber AT2 tires
-DeeZee cab rack, black
-DeeZee tool box, Black
-Cree led flood lights to mount on the cab rack
-Fender Flares
-Power and heated towing mirrors with puddle lamp
-2inch level
-Black plati dip on bumpers and other chrome.
-Led bulbs on all light fixtures.
Where I am at:
So far, only the cab rack, flood lights, tool box, towing mirrors, and LED light bulbs have gone in.
How I wired the cab rack lights:
I took off the cargo light housing and then pulled off the dome light in the backseat. I attached the wires from the cab rack lights to a wire coat hanger and pulled it through to the dome light.
I thought this would be the easiest way to get to the C pillar and then run the wires down under the sill plates to the front of my cab. But when the dome light was dangling down I saw it had three wires. Then I remembered that there must be a wire connected to the battery because I can still turn the dome light on without my keys being in the ignition. I pull out the test light, find the hot wire, and use a quick connector. I added a light switch that came with a fuse and ground wire so I am not worried about any electrical issues.
I mounted the light switch right in front of the dome light. This may look tacky to some, but I like the location. Its easily accessible from anywhere in the cab. If I'm connecting a trailer or what have you, its a lot easier to reach from the back door then have to climb in to the front seat. Also if I am backing up, no need to reach forward. The lights are bright as $***!
Wires running under the cargo lamp housing.
Hot wire quick connect (looks ugly, i know)
Light Switch. I'm going to swap it out with one that looks a little better, but I like where it's at.
Cree LED flood lights, super bright!
Spec- D heated power towing mirrors.
Spec-D projector headlights with LED's and 8000K HID kit.
That's all for now folks. Once it's all said and done, I'll put some better pics up.
Looks good! I'd be careful with that wire running out of the third brake light. I can definitely see water leaking in there in the future.
Did you add LEDs to your front and rear turn signals yet? Which flasher unit did you go with?
Thanks! Yep, learned that one the hard way this morning. Not sure what I am going to use, maybe some rubber tubing or adhesive foam tape to make up for the extra gap? Any other ideas?
I only put LED's in the cargo lamp and reverse lights for now. I was thinking just putting resistor's in but I guess a new flasher would save a lot of time. Haven't looked into one yet. But honestly, I probably wont put LED's on my signals anyway.
Might be easier to drill a hole in the light and thread the wire through? That way you only have to seal the hole around the wire rather than trying to fill up the gap around the lens.
 06-02-2015, 02:42 PM

 on this forum and couldn't really find a good spot to post a project thread and thought here would be as good as any.