Raptor's How-To: Badge Swap/Removal
#1
 01-10-2009, 01:19 AM


Raptor’s How-To: Badge Swap/Removal
As done by Alex Melia
Disclaimer: This article is for informational purposes only. I will not be held responsible for any vehicle or personal harm while attempting this modification yourself. Remember: Safety first!
This modification has actually become quite popular lately with the 10th gen (1997-2004) trucks, so I’ve decided to do a complete write-up to deal with all the e-mails I’ve been receiving regarding this process. This can also be used in conjunction if you wish to shave your badges or ace toning them. Enjoy!
Tools Needed: Fishing string (5 lb+ test), TRUSTWORTHY Friend, 70% Isopropyl Rubbing Alcohol, Flathead Screwdriver, Ammonia (glass cleaner), Laser-Leveler, Hacksaw Blade, File, Plastic/wooden spoon, Paper Towels, Knife, Masking Tape, Heat gun (hair dryer)
1.) Step one involves prep work. A good day would be nice and warm, with direct sunlight shining on the truck. Begin by donning all safety gear (gloves) and laying out all proper tools. The badges used in this tutorial were purchased at a Ford dealership for $28/ea for the fender badges and one tailgate badge costing $23. Start by parking the intended side in direct sunlight. Using the masking tape, trace two of the edges for a future reference point. Pull out you heat gun (a hair dryer can be substituted in this step) and have your friend hold the gun aimed directly at the badges at HIGH power anywhere from 3-6 inches away from the body for at least 2 minutes.
2.) After a few minutes, verify that the badge is warmed up by quickly slapping the back of your hand against it. To avoid burns, use oven mitts or PPE gloves. Once warmed up, cut yourself about two strips of fishing line about 4 feet long each. Twist them both together and wrap around your index finger just as if you were flossing.
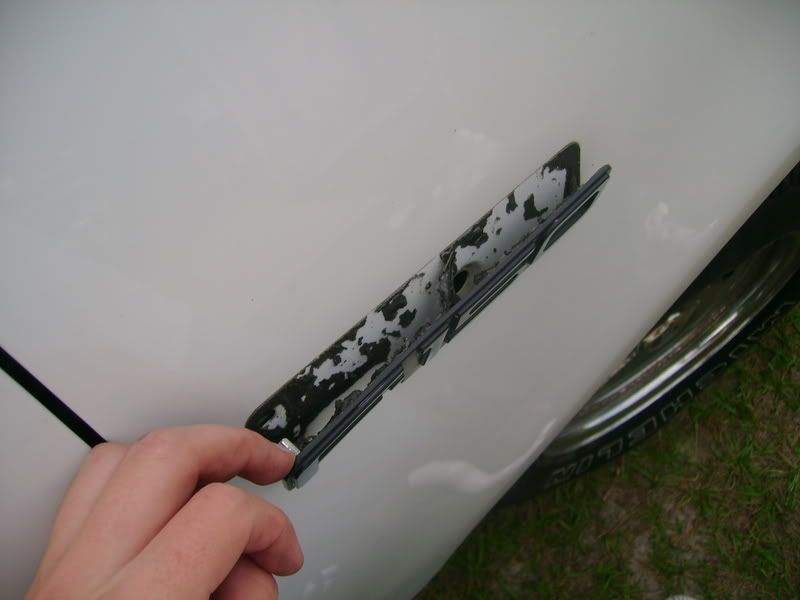
3.) Beginning on the top-left corner, begin “sawing” back and forth. The warmer the glue, the easier the “blade” slices through the glue. After about ˝”, the strings will no longer progress. This is to an aiming pin on the back of the badge. Continue around all available edges until you are sure you cannot progress any further.
4.) Using the knife (butter, preferably), slowly slide it down the center portion where you were unable to cut with the string. Push all the way through until you see the tip emerge at the bottom of the badge and pull back up, move over a bit, and push all the way through again. Repeat until you have cut most of the glue out of the center.
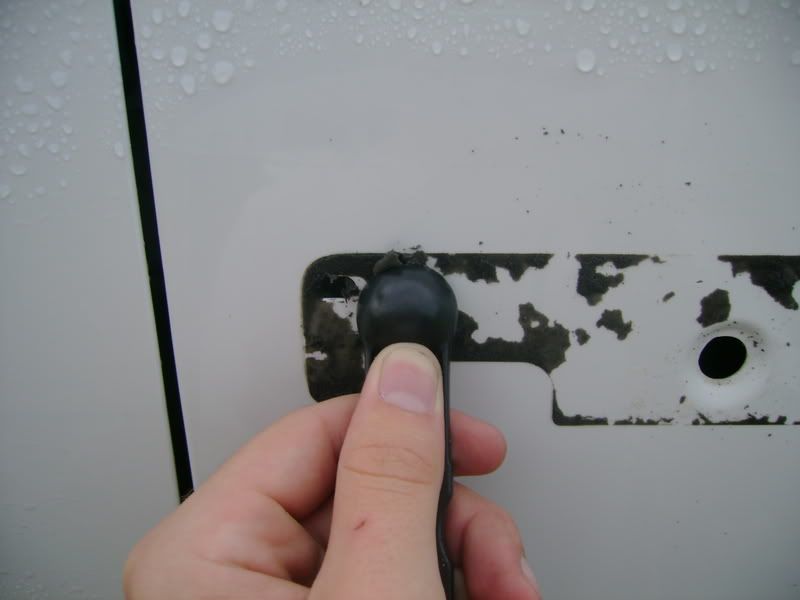
5.) Using the flat-head screwdriver (wrapped with a piece of a paper towel), begin prying back and forth between the badge and body of the truck. As the badge loosens up, you will soon be able to pull off easily with your hands.
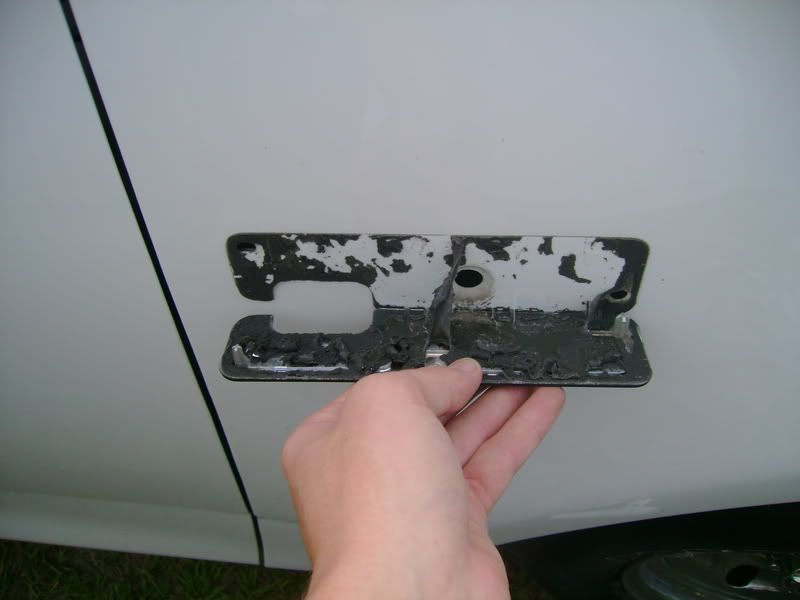
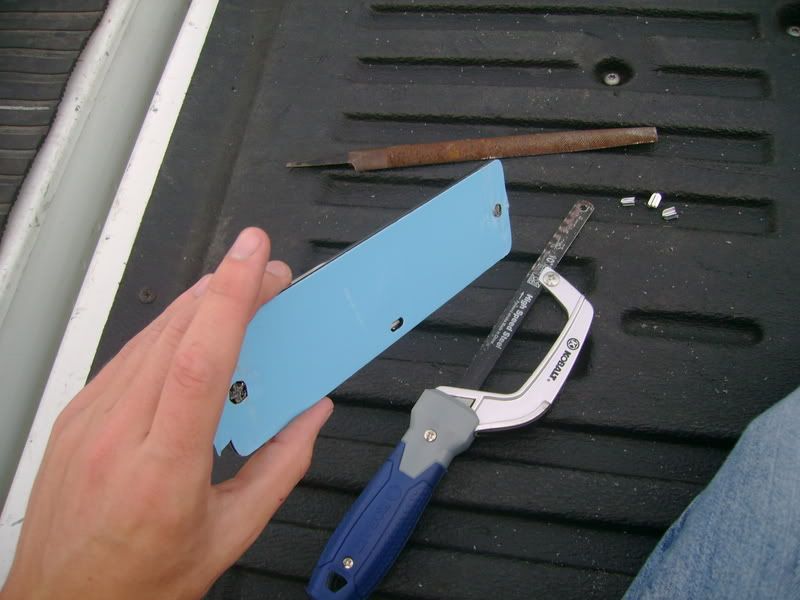
6.) Completely remove the badge and set aside. Now comes prep time for the new badges. Lay them out and select one of the appropriate ones. Begin by turning over and locating the aiming pins. These are different on a 2004+, so we must take these off. Using a hack saw blade, cut these off (WEAR GLOVES DURING THIS STEP!!!). Once completed, use a file and sand down the stubs as much as possible without cutting up the protective plastic for the badges.
As done by Alex Melia
Disclaimer: This article is for informational purposes only. I will not be held responsible for any vehicle or personal harm while attempting this modification yourself. Remember: Safety first!
This modification has actually become quite popular lately with the 10th gen (1997-2004) trucks, so I’ve decided to do a complete write-up to deal with all the e-mails I’ve been receiving regarding this process. This can also be used in conjunction if you wish to shave your badges or ace toning them. Enjoy!
Tools Needed: Fishing string (5 lb+ test), TRUSTWORTHY Friend, 70% Isopropyl Rubbing Alcohol, Flathead Screwdriver, Ammonia (glass cleaner), Laser-Leveler, Hacksaw Blade, File, Plastic/wooden spoon, Paper Towels, Knife, Masking Tape, Heat gun (hair dryer)
1.) Step one involves prep work. A good day would be nice and warm, with direct sunlight shining on the truck. Begin by donning all safety gear (gloves) and laying out all proper tools. The badges used in this tutorial were purchased at a Ford dealership for $28/ea for the fender badges and one tailgate badge costing $23. Start by parking the intended side in direct sunlight. Using the masking tape, trace two of the edges for a future reference point. Pull out you heat gun (a hair dryer can be substituted in this step) and have your friend hold the gun aimed directly at the badges at HIGH power anywhere from 3-6 inches away from the body for at least 2 minutes.
2.) After a few minutes, verify that the badge is warmed up by quickly slapping the back of your hand against it. To avoid burns, use oven mitts or PPE gloves. Once warmed up, cut yourself about two strips of fishing line about 4 feet long each. Twist them both together and wrap around your index finger just as if you were flossing.
3.) Beginning on the top-left corner, begin “sawing” back and forth. The warmer the glue, the easier the “blade” slices through the glue. After about ˝”, the strings will no longer progress. This is to an aiming pin on the back of the badge. Continue around all available edges until you are sure you cannot progress any further.
4.) Using the knife (butter, preferably), slowly slide it down the center portion where you were unable to cut with the string. Push all the way through until you see the tip emerge at the bottom of the badge and pull back up, move over a bit, and push all the way through again. Repeat until you have cut most of the glue out of the center.
5.) Using the flat-head screwdriver (wrapped with a piece of a paper towel), begin prying back and forth between the badge and body of the truck. As the badge loosens up, you will soon be able to pull off easily with your hands.
6.) Completely remove the badge and set aside. Now comes prep time for the new badges. Lay them out and select one of the appropriate ones. Begin by turning over and locating the aiming pins. These are different on a 2004+, so we must take these off. Using a hack saw blade, cut these off (WEAR GLOVES DURING THIS STEP!!!). Once completed, use a file and sand down the stubs as much as possible without cutting up the protective plastic for the badges.
#2
01-10-2009, 01:21 AM
7.) Now repeat for the other two badges. Return to the fender with your rubbing alcohol, plastic spoon, and some paper towels. HEAVILY soak what is left of the glue with the alcohol. Repeat several times and then using your plastic spoon, apply pressure and shave off the remnants of the glue.
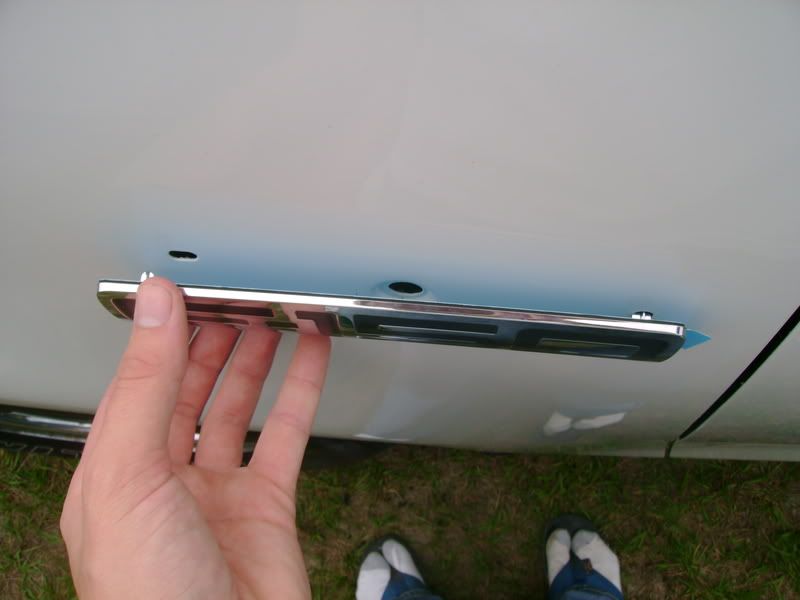
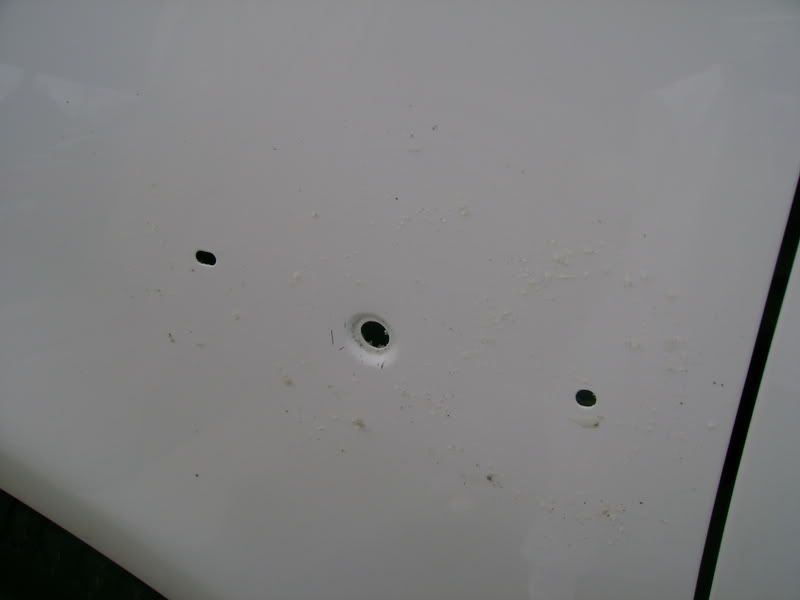
8.) Continue applying excessive alcohol and scrubbing with the spoon and wipe excess off stickiness with a paper towel until you are left with a nice, clean, smooth fender with three holes.
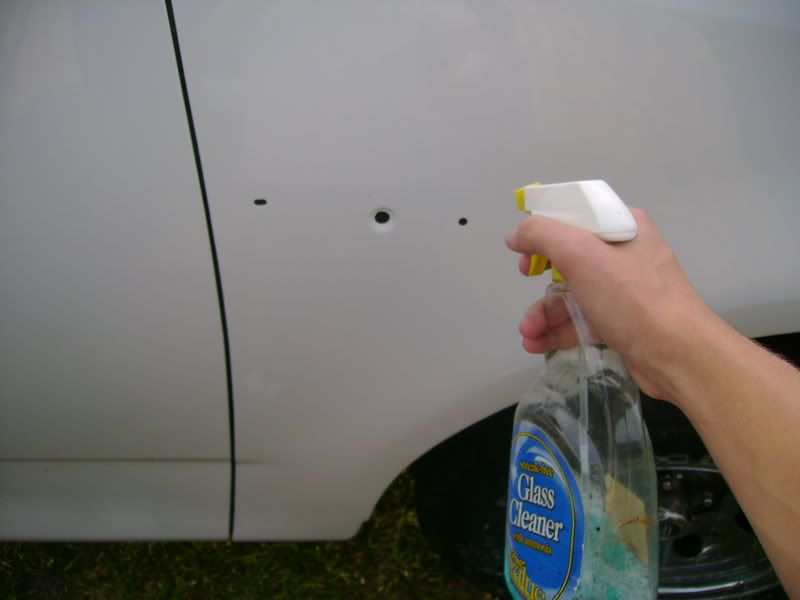
9.) Since we just removed alcohol to remove the stickiness of the badges, we don’t want that on there when we put the new ones on. Grabbing your ammonia-based glass cleaner, spray down the area well and wipe away with new towels. Using automotive soap for a quickie can be used as well.
#3
01-10-2009, 01:22 AM
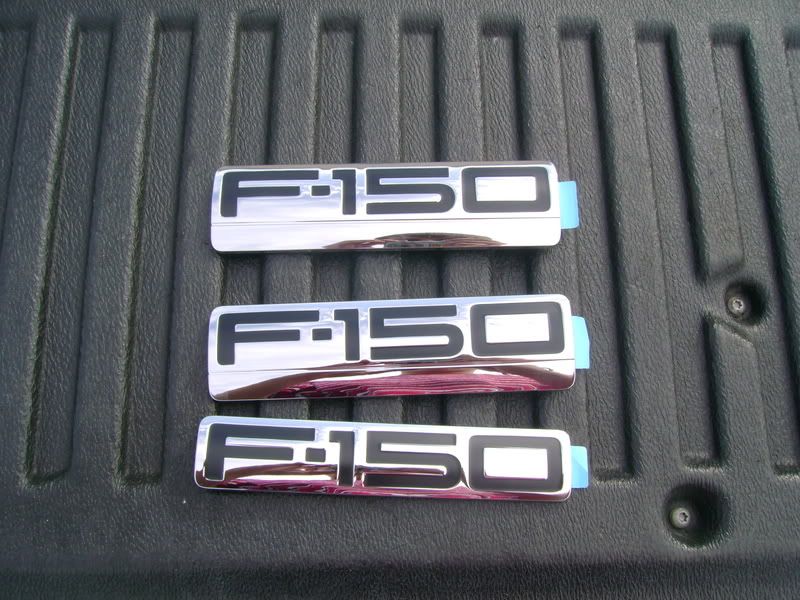
10.) Retrieving the new badges, hastily align them (do not remove the glues’ protective cover yet!) and use your friend to verify levelness of the badges. A laser-level can also be used. Mark the four corners with a highlighter or the like.
11.) Remove the back plastic and slowly move into place, using constant comments to make sure the badge is level.

12.) Once applied, press firmly, stand back, and enjoy work well done.
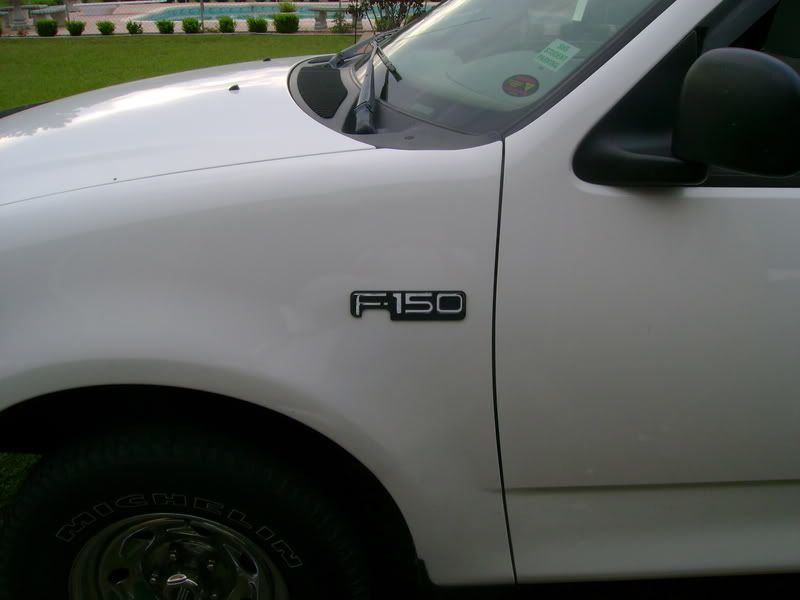
Before:
#4
01-10-2009, 01:23 AM
Later:
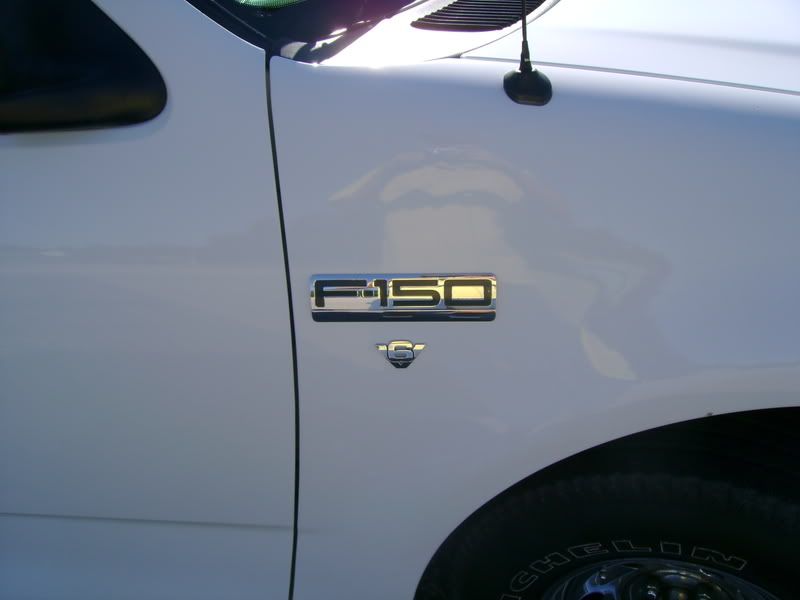
Now:

If you have any comments, questions, or concerns, please feel free to contact me at: Raptor05121@yahoo.com.
Now:
If you have any comments, questions, or concerns, please feel free to contact me at: Raptor05121@yahoo.com.
Last edited by Raptor05121; 07-12-2009 at 08:16 PM.
#5
10-13-2010, 11:00 PM

Member
Join Date: Sep 2010
Location: Fort.pierce FL
Posts: 61
Likes: 0
Received 0 Likes
on
0 Posts

