Another Nite Shades thread
#1
 02-27-2008, 10:44 AM


Join Date: May 2007
Location: Orlando
Posts: 2,101
Likes: 0
Received 0 Likes
on
0 Posts
Another Nite Shades thread
These are more or less the steps I used for my Expy. For the F150, is should be about the same, except, of course, when talking about the third brake light, which doesn't have a hose attached to it.
I'm going to do my dad's F150 this weekend. I'll probably do 2 coats of tine on his since his is dark gray, instead of my white. Anything in the steps that can be improved?
Splitting this into two posts because of word count.
----------------------
Finally got around to purchasing the Nite Shades to darken my taillights. Going with a black-white theme, I thought the taillights might benefit from a little darkening.
Anyways, here's what I did and needed.
Materials:
1 can of Nite Shades (got mine from vhtspray on Ebay)
1 can of Krylon clear coat
1000 grit wet/dry sandpaper
Masking tape
Alcohol
Shop Towels
*Optional*
1500 grit wet/dry sandpaper
2000 grit wet/dry sandpaper
Rubbing Compound
Terry Towels
Plastic X
Car Wax
Microfiber Towel
Spray Bottle
Newspapers
1) Like up tailgate, giving you access to the two retaining screws. You'll need one of those star-shaped screwdrivers (you'll know what I mean when you see the screws) to take them off.
2) Unplug the two wires in the back. Pull taillights out.
3) Wet sand the taillights using the 1000 grit paper and the spray bottle (though I guess you could also do it in a sink or tub with running water.) This step is for better adhesion.
4) Dry taillights, and clean then with alcohol.
5) Tape off the area where the reverse light shows through. This step is optional depending on if you want your reverse tinted or no. Since the color of my car is white, I left it untinted cuz I figured it would go better.
6) Now you're ready to start painting. Lay out the newspapers, if needed, to paint on. Spray a quick line on the newspaper just so you can see "what you're working with" in terms of spray pattern. Start from the top and work your way down. Work kinnda like a printer, going line by line. I spray in bursts, doing one line, letting go of the sprayer, going to the next line, and starting again. Whatever your do, take your time and make sure you got everything, and do one light at a time.
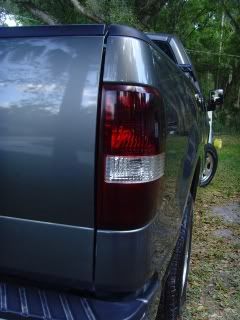
I only did one coat, since I didn't want mine to come out too dark. If you're going for a darker look, after each coat, let the lights dry 10-15 minutes, lightly wetsand them, clean then, then go for the next coat. I think a "black" tint is achieved by the third coat.
Here's a picture of how the lights looked after their first (and only) coat:

If you want to leave the lights like that, the rest of this is optional, and you can put them on like that. Most people will at least clear coat them since the finish of Nite Shade-only can be a little dull. I went with the "at-home" route and used Krylon clear coat from Wal-mart to CC them. Others want a nice, clean shine to them and will take them to a body shop to get it CC there, though some people have problems finding a place that will do it.
If going with the "at-home" method, onward with the rest of the steps.
7) After you've with the coat(s) of Nite Shades, lightly wetsand with 1000 grit, and clean with alcohol. Spray on a coat of clear coat more or less the same way you did with the Nite Shades. Let dry for 30-60 minutes. I only used one coat of clear coat, while others use 2-3. Basically, repeat this step until you're happy.
After the final coat, you can leave it as is. Me, I went an extra step to get some "reflective shininess" out of the finish.
8) Assuming the clear coat is dry, lightly wetsand using the 1500 grit paper. If you want to, after you're done with the 1500 paper, finish it off with 2000 grit, but I didn't. The light should feel relatively smooth.
9) With a Terry cloth towel, apply some rubbing compound onto the lights. Work it in for a couple minutes with a little bit of force. After you've finished with the rubbing compound, wipe it down with a shop towel.
10) Using another shop towel, apply the Plastic X. This is what is going to give the shine to the finish. Work in in real good. When finished, wipe it down with a microfiber cloth. The light should look more or less shiny.
11) Time to seal the finish up. Apply car wax to the light. In my case, I used #26 Maguires, though if you have some synthetic one, like NXT or Mother's Synwax, I'd use that for the longer protection. Let's the wax haze up for a couple minutes, then wipe off with the microfiber towel. The lights should be nice and shiny
12) Put everything back the way it was.
13) Take pictures and post them up for all to see.
I'm going to do my dad's F150 this weekend. I'll probably do 2 coats of tine on his since his is dark gray, instead of my white. Anything in the steps that can be improved?
Splitting this into two posts because of word count.
----------------------
Finally got around to purchasing the Nite Shades to darken my taillights. Going with a black-white theme, I thought the taillights might benefit from a little darkening.
Anyways, here's what I did and needed.
Materials:
1 can of Nite Shades (got mine from vhtspray on Ebay)
1 can of Krylon clear coat
1000 grit wet/dry sandpaper
Masking tape
Alcohol
Shop Towels
*Optional*
1500 grit wet/dry sandpaper
2000 grit wet/dry sandpaper
Rubbing Compound
Terry Towels
Plastic X
Car Wax
Microfiber Towel
Spray Bottle
Newspapers
1) Like up tailgate, giving you access to the two retaining screws. You'll need one of those star-shaped screwdrivers (you'll know what I mean when you see the screws) to take them off.
2) Unplug the two wires in the back. Pull taillights out.
3) Wet sand the taillights using the 1000 grit paper and the spray bottle (though I guess you could also do it in a sink or tub with running water.) This step is for better adhesion.
4) Dry taillights, and clean then with alcohol.
5) Tape off the area where the reverse light shows through. This step is optional depending on if you want your reverse tinted or no. Since the color of my car is white, I left it untinted cuz I figured it would go better.
6) Now you're ready to start painting. Lay out the newspapers, if needed, to paint on. Spray a quick line on the newspaper just so you can see "what you're working with" in terms of spray pattern. Start from the top and work your way down. Work kinnda like a printer, going line by line. I spray in bursts, doing one line, letting go of the sprayer, going to the next line, and starting again. Whatever your do, take your time and make sure you got everything, and do one light at a time.
I only did one coat, since I didn't want mine to come out too dark. If you're going for a darker look, after each coat, let the lights dry 10-15 minutes, lightly wetsand them, clean then, then go for the next coat. I think a "black" tint is achieved by the third coat.
Here's a picture of how the lights looked after their first (and only) coat:
If you want to leave the lights like that, the rest of this is optional, and you can put them on like that. Most people will at least clear coat them since the finish of Nite Shade-only can be a little dull. I went with the "at-home" route and used Krylon clear coat from Wal-mart to CC them. Others want a nice, clean shine to them and will take them to a body shop to get it CC there, though some people have problems finding a place that will do it.
If going with the "at-home" method, onward with the rest of the steps.
7) After you've with the coat(s) of Nite Shades, lightly wetsand with 1000 grit, and clean with alcohol. Spray on a coat of clear coat more or less the same way you did with the Nite Shades. Let dry for 30-60 minutes. I only used one coat of clear coat, while others use 2-3. Basically, repeat this step until you're happy.
After the final coat, you can leave it as is. Me, I went an extra step to get some "reflective shininess" out of the finish.
8) Assuming the clear coat is dry, lightly wetsand using the 1500 grit paper. If you want to, after you're done with the 1500 paper, finish it off with 2000 grit, but I didn't. The light should feel relatively smooth.
9) With a Terry cloth towel, apply some rubbing compound onto the lights. Work it in for a couple minutes with a little bit of force. After you've finished with the rubbing compound, wipe it down with a shop towel.
10) Using another shop towel, apply the Plastic X. This is what is going to give the shine to the finish. Work in in real good. When finished, wipe it down with a microfiber cloth. The light should look more or less shiny.
11) Time to seal the finish up. Apply car wax to the light. In my case, I used #26 Maguires, though if you have some synthetic one, like NXT or Mother's Synwax, I'd use that for the longer protection. Let's the wax haze up for a couple minutes, then wipe off with the microfiber towel. The lights should be nice and shiny
12) Put everything back the way it was.
13) Take pictures and post them up for all to see.
#2
02-27-2008, 10:45 AM
Join Date: May 2007
Location: Orlando
Posts: 2,101
Likes: 0
Received 0 Likes
on
0 Posts
2nd part of post
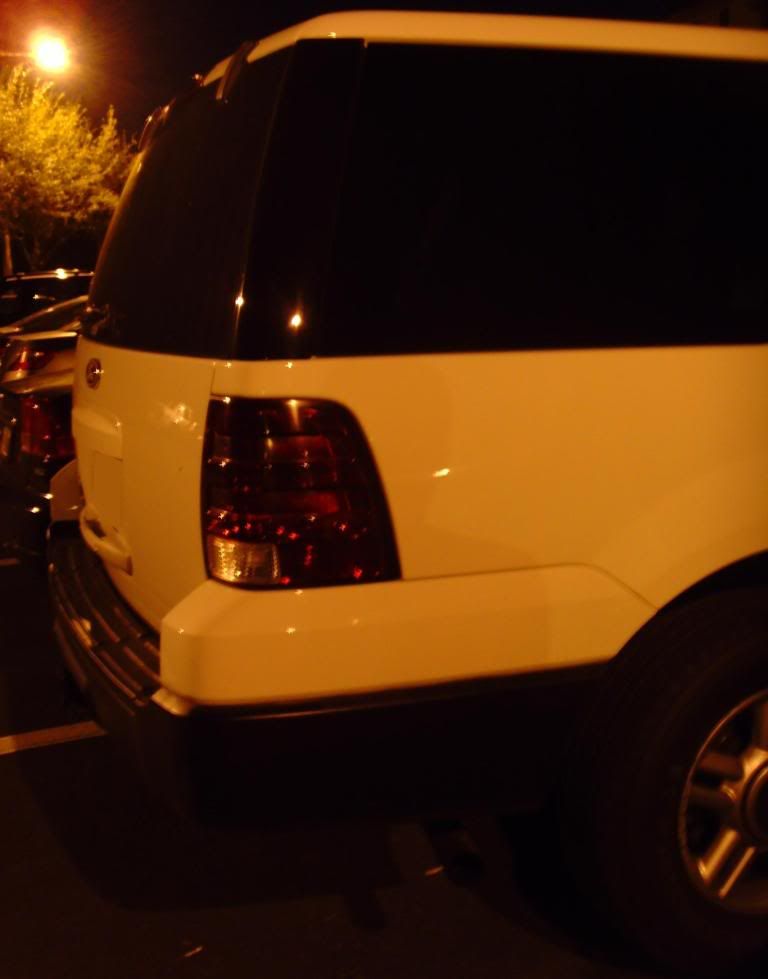
Here's my pictures. The daytime pictures turned out a little darked than what they really looked like. The finished lights are a tiny bit lighter than what is showing. I'd maybe like to go darker, but I'm not sure how strict enforcement is here.
Before (the 3rd brake light's finish was kinnda dull):
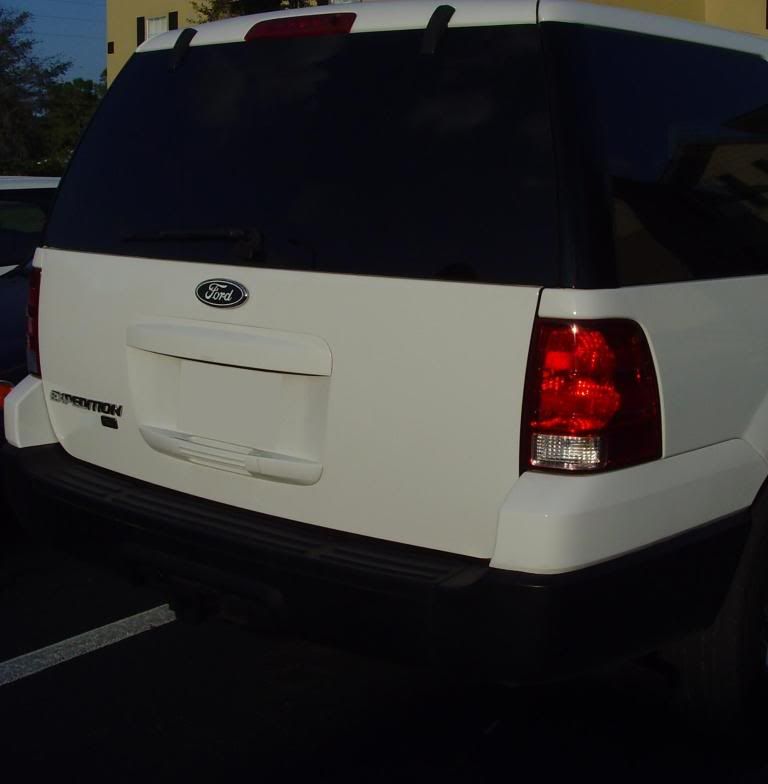
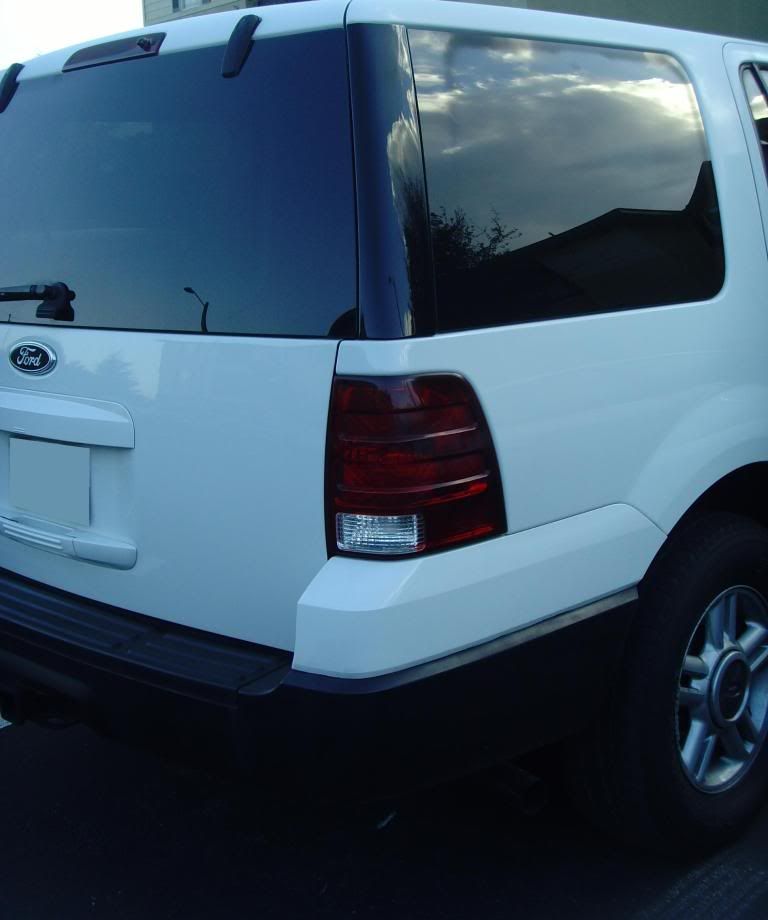
After (1st one is right after I finished, second one was next morning morning):
Before (the 3rd brake light's finish was kinnda dull):
After (1st one is right after I finished, second one was next morning morning):


#5
03-03-2008, 09:50 AM
Join Date: May 2007
Location: Orlando
Posts: 2,101
Likes: 0
Received 0 Likes
on
0 Posts
Update
Went home, and did my dad's truck. Two coats on his. I had some left over in the can, so I did one coat on my sister's car. Also did a second coat on mine.
Yea, it's dirty.
Maybe I should have gone with another coat?
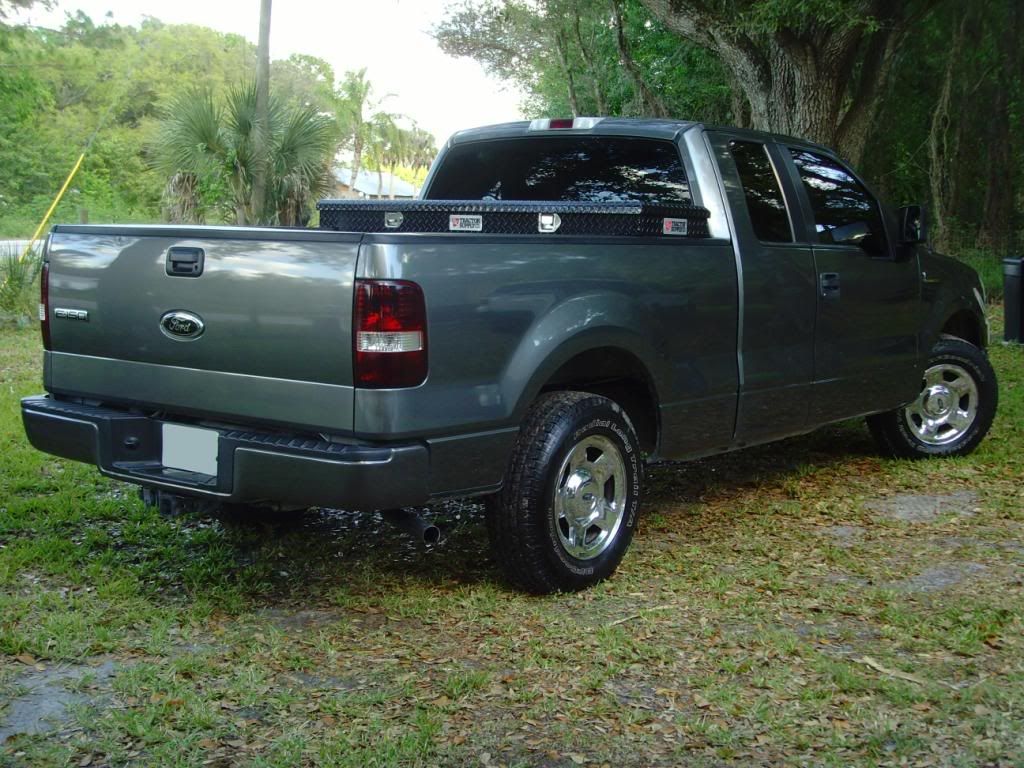
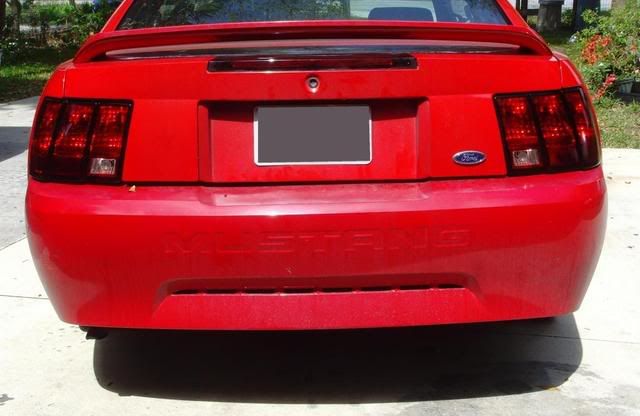
I have a whole 'nother can. Maybe I'll do my roommate's Mustang....
Yea, it's dirty.
Maybe I should have gone with another coat?
I have a whole 'nother can. Maybe I'll do my roommate's Mustang....

#7
04-17-2008, 01:24 PM
Join Date: May 2007
Location: Orlando
Posts: 2,101
Likes: 0
Received 0 Likes
on
0 Posts