
$3.95 DIY Heat Shield for Cold Air Intake
#1
 02-03-2003, 12:58 AM


#2
02-03-2003, 01:00 AM
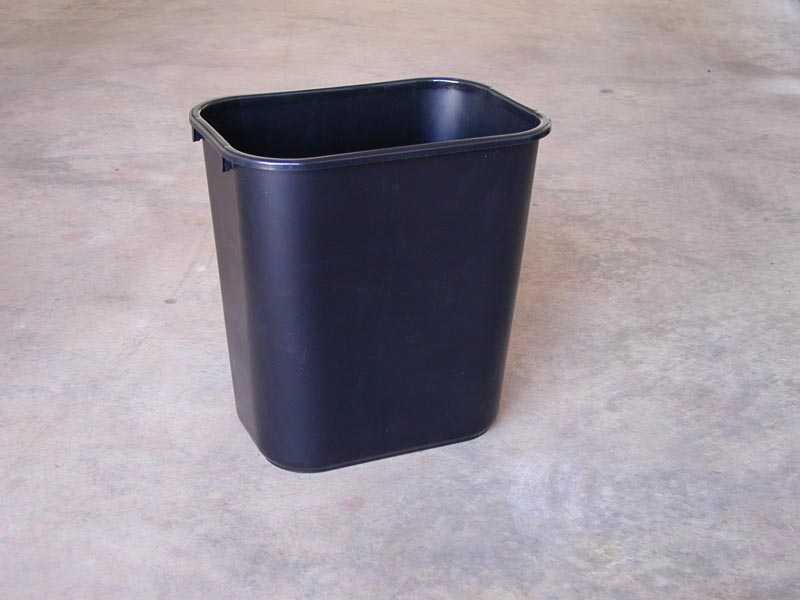
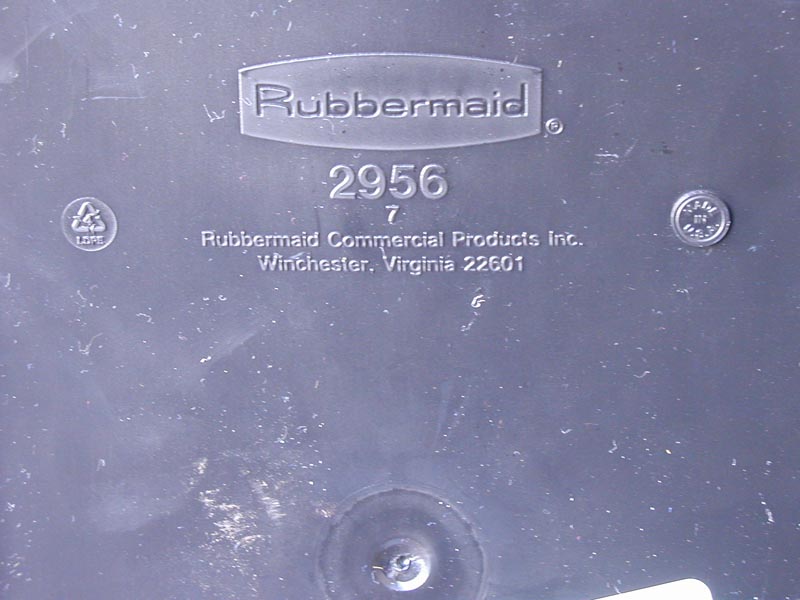
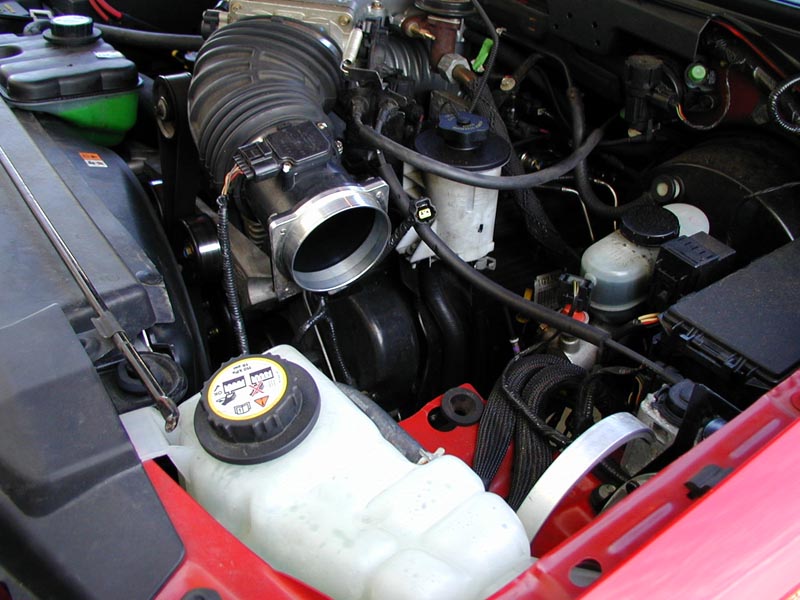
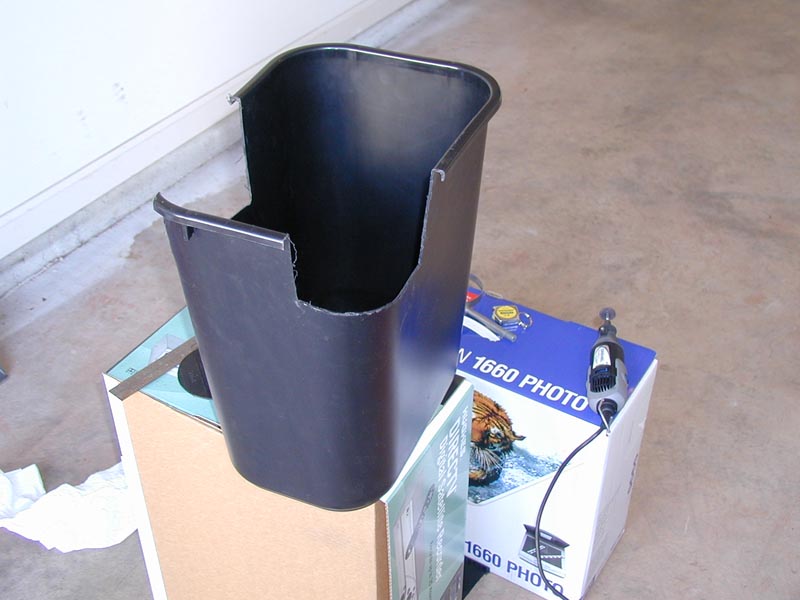
To optimize my truck's performance, I decided that I would need a heat shield to isolate the intake from the hot air in the engine compartment. I didn't want to pay the money for another tuner's cold air kit, and the homemade heat shields I have seen posted on the forums have looked like a fun and affordable alternative. I considered fabricating my own heat shield from various materials, including aluminum sheet metal, carbon fiber, and various plastics. Carbon Fiber is too cost prohibitive, and I don't have access to a box press and spot welder so I eliminated aluminum. Plus measuring, trimming, folding, and welding all that metal didn't really excite me (nor laying up a fiber composite in a mold, etc). I was feeling CHEAP and LAZY, and if I was going to go through all that trouble, I would rather buy a "real" heat shield. I knew I was going to document my project's success/failure here on the forums, so I was determined to make something simple that was easy to reproduce. I was walking down the aisles in Home Depot when I struck gold: a black plastic Rubbermaid 2956 waste basket:
#3
02-03-2003, 01:01 AM
I know what you're thinking, but hear me out!  The overall shape and size of this little trash can seemed "just right" for my application (meaning: minimal modification for lazy people like me). The 1/8" thick plastic is probably a little thin for optimal heat insulation, but it would be easier to cut and should be better than nothing (preliminary results posted further down). Rubbermaid claims this tough product will resist stains, chemicals, heat (not sure how much), and all kinds of abuse. In addition, the plastic is molded in black with nice rounded edges, so I wouldn't need to paint or refinish my heat shield when done. And who can't resist the price: $3.95! I figured: "Hey, if I screw up, I'll only be out $4, right?"
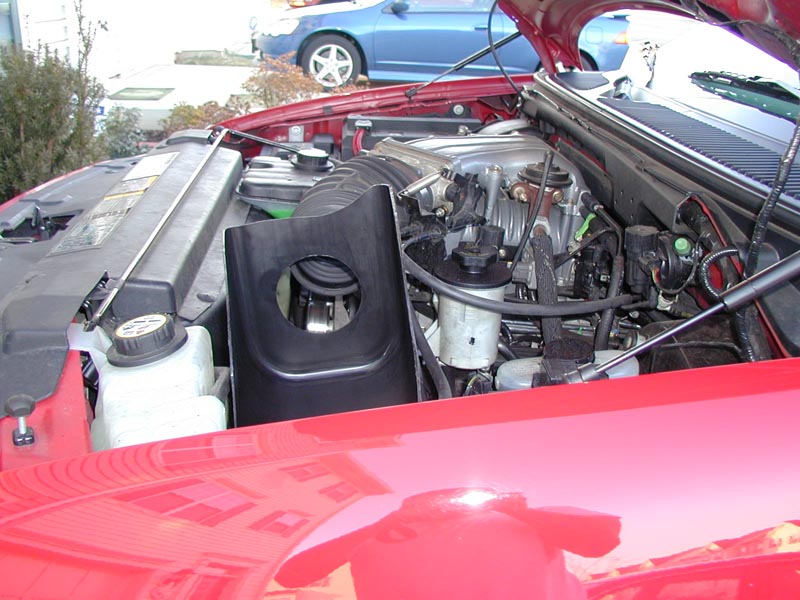
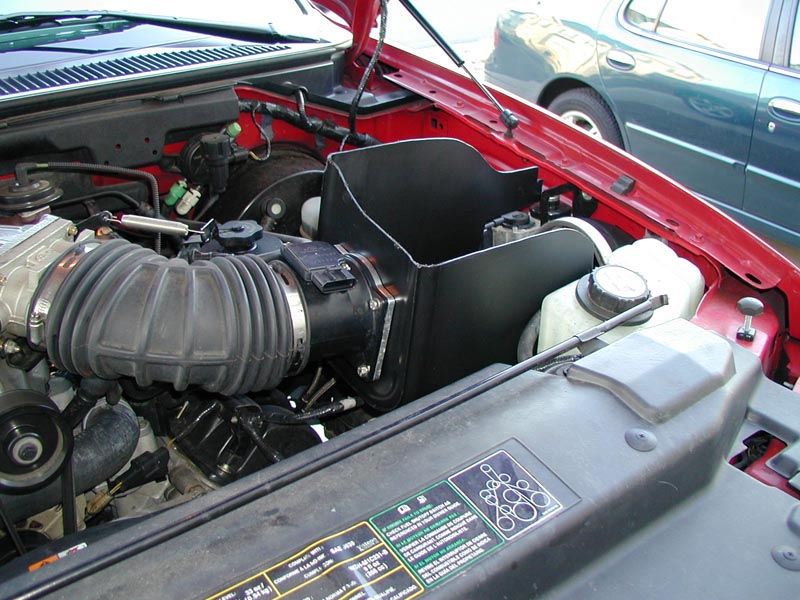
When I got home I placed the trash can on top of my intake to gauge exactly how much "modification" would be necessary to make my heat shield fit. After positioning the Rubbermaid in different orientations, I found one way that I thought would work nicely:
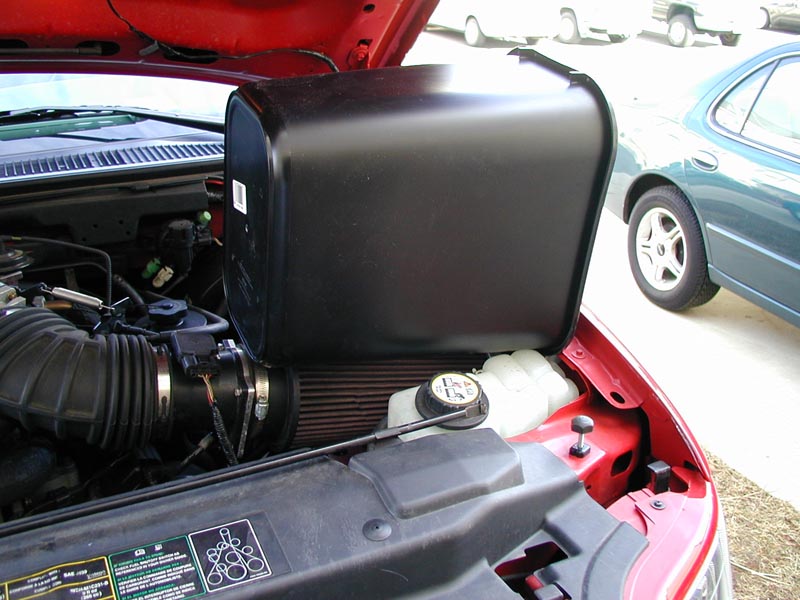
The overall shape and size of this little trash can seemed "just right" for my application (meaning: minimal modification for lazy people like me). The 1/8" thick plastic is probably a little thin for optimal heat insulation, but it would be easier to cut and should be better than nothing (preliminary results posted further down). Rubbermaid claims this tough product will resist stains, chemicals, heat (not sure how much), and all kinds of abuse. In addition, the plastic is molded in black with nice rounded edges, so I wouldn't need to paint or refinish my heat shield when done. And who can't resist the price: $3.95! I figured: "Hey, if I screw up, I'll only be out $4, right?"When I got home I placed the trash can on top of my intake to gauge exactly how much "modification" would be necessary to make my heat shield fit. After positioning the Rubbermaid in different orientations, I found one way that I thought would work nicely:
#4
02-03-2003, 01:02 AM
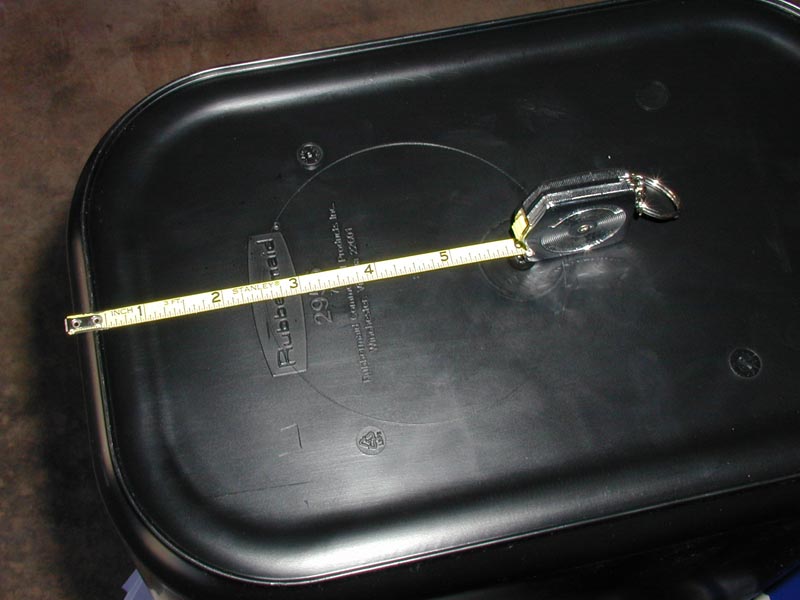
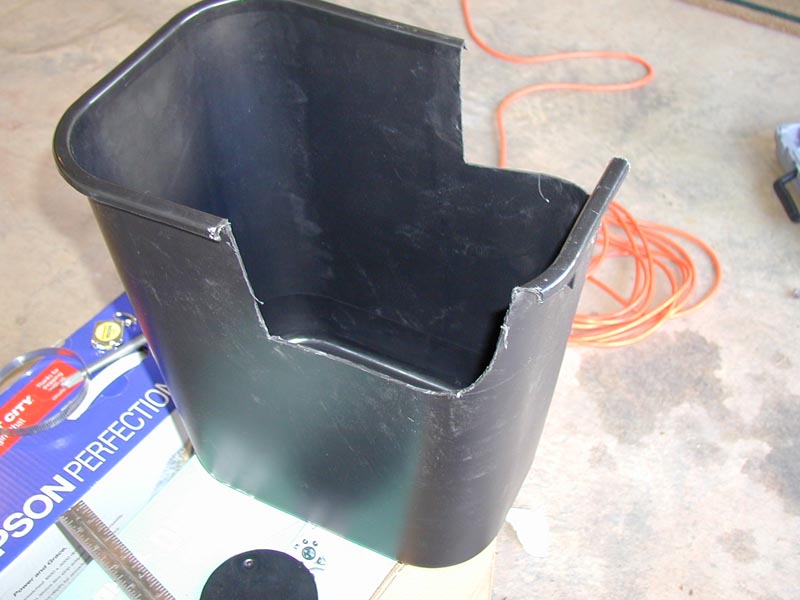
Not yet discouraged, I proceeded to remove my intake filter and took some rough measurements. I concluded that it was possible to transform my Rubbermaid into a heat shield, or waste my afternoon and $4. For those who would like to replicate my madness, I have outlined the rest of my steps below (all disclaimers apply - no guarantees!):
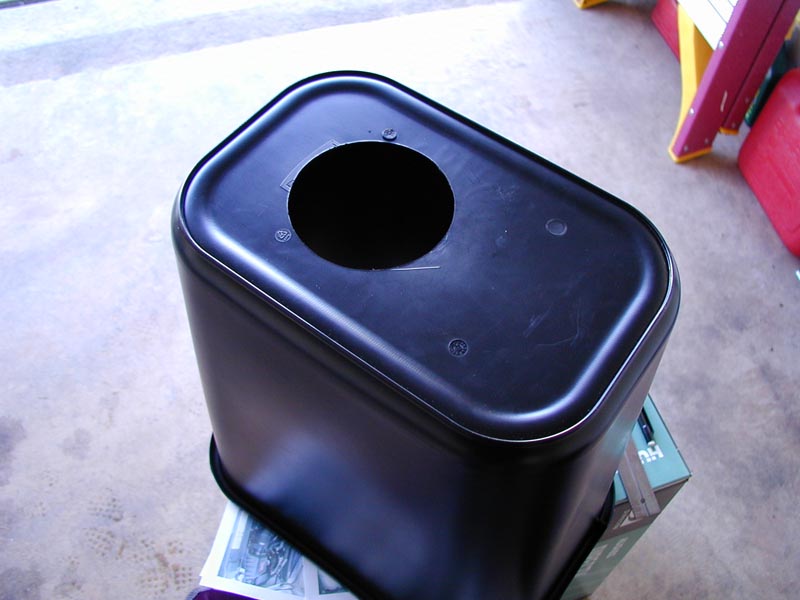
I determined that the 4" hole for the MAF should be cut approximately 2.5" from the edge of the trash can bottom (center @ 4.5" from edge). Using a compass, I marked the point of no return:
#5
02-03-2003, 01:03 AM

#6
02-03-2003, 01:05 AM


#7
02-03-2003, 01:06 AM


Trending Topics
#8
02-03-2003, 01:07 AM
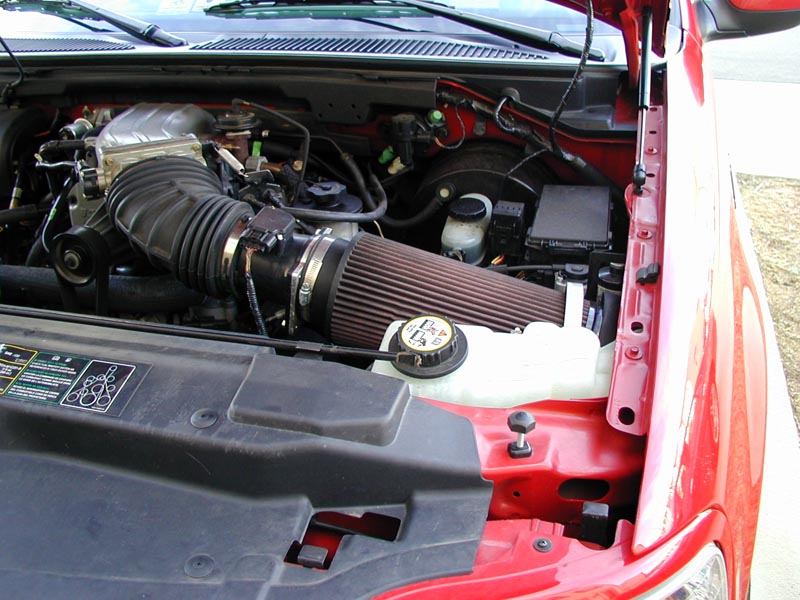
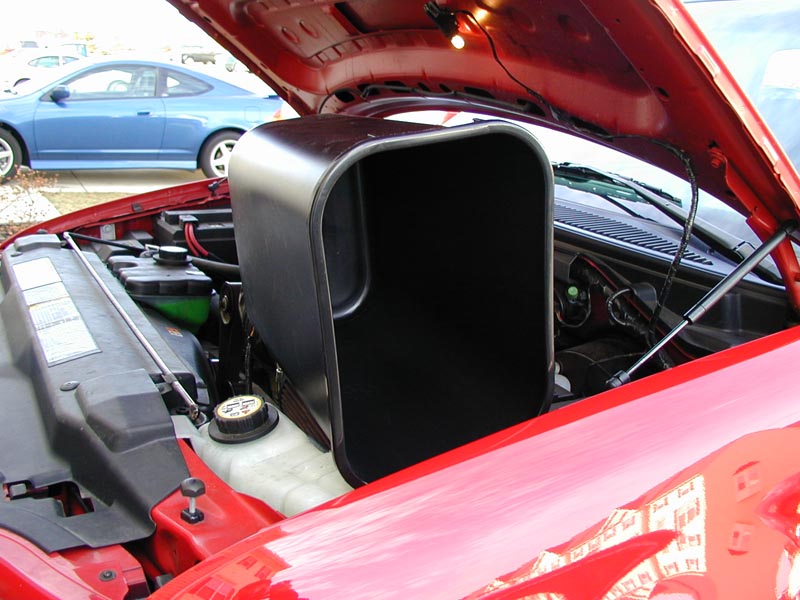
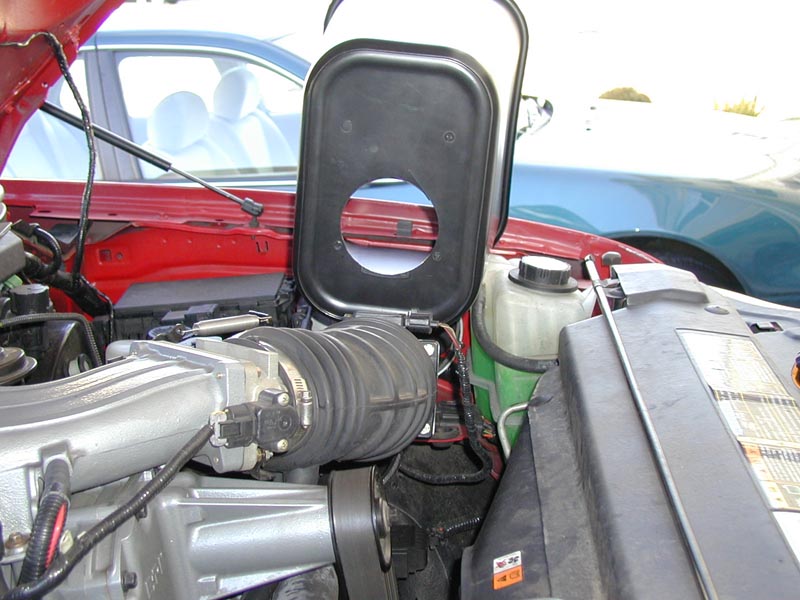
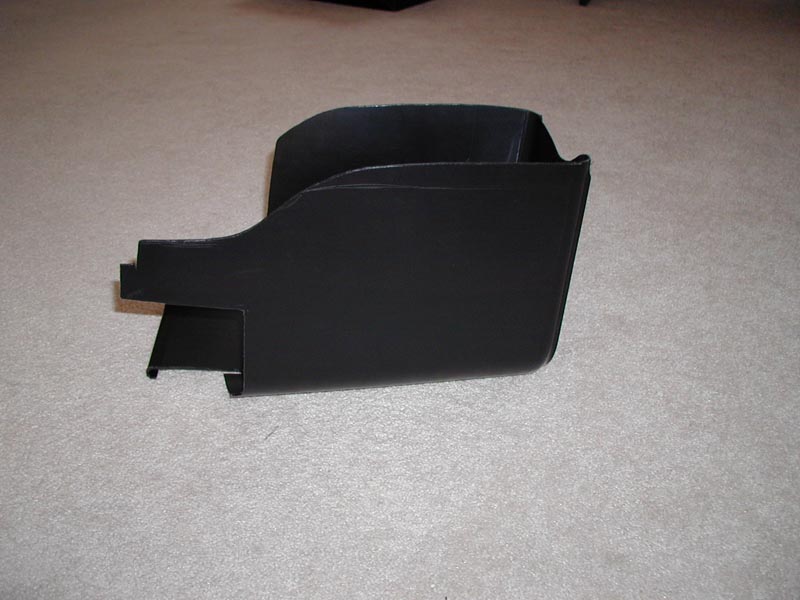
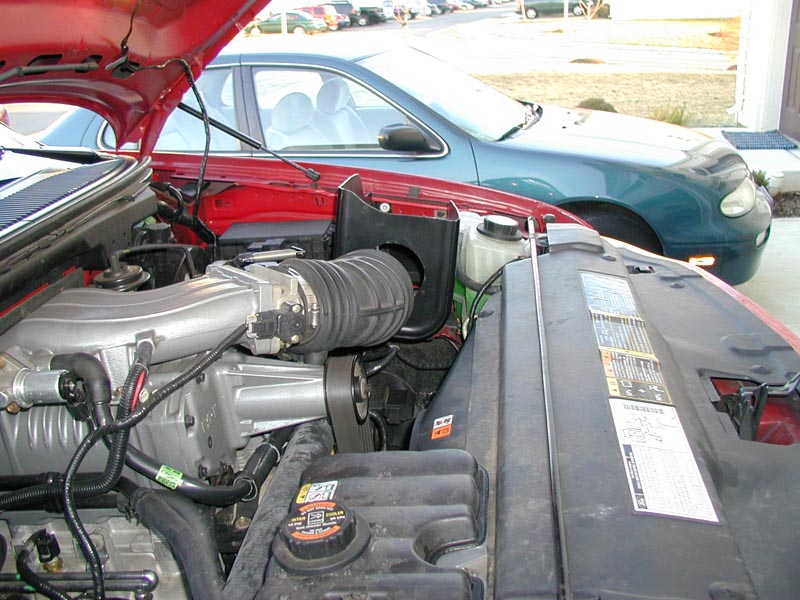
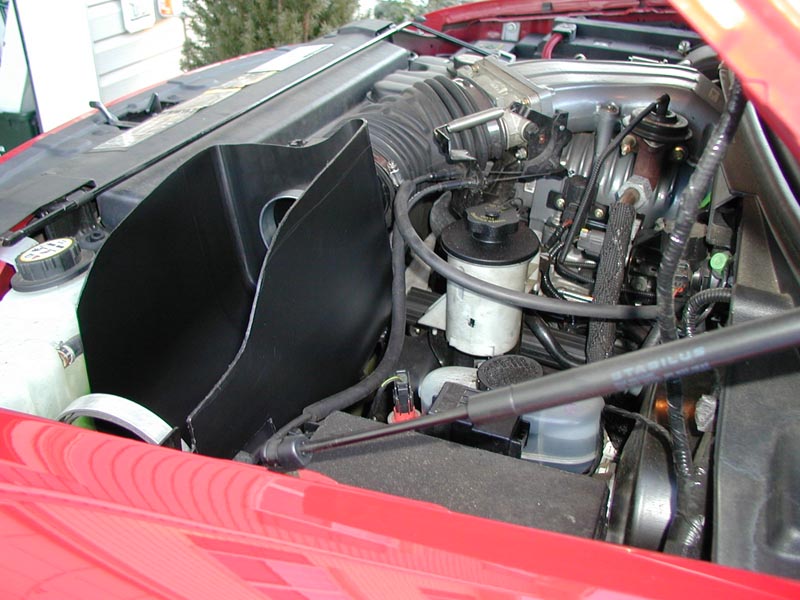
To arrive at the final shape, I used a pencil to mark approximate clearance obstructions, trimmed off small conservative pieces of plastic, then went back to the truck to verify my adjustments. The trickiest part was trying to match the contours of the hood, and I used a flashlight to watch my clearances as I open and closed my hood several times. After several iterations of trimming and measuring, I had finally created a heat shield that snugly fit the engine compartment:
#9
02-03-2003, 01:09 AM
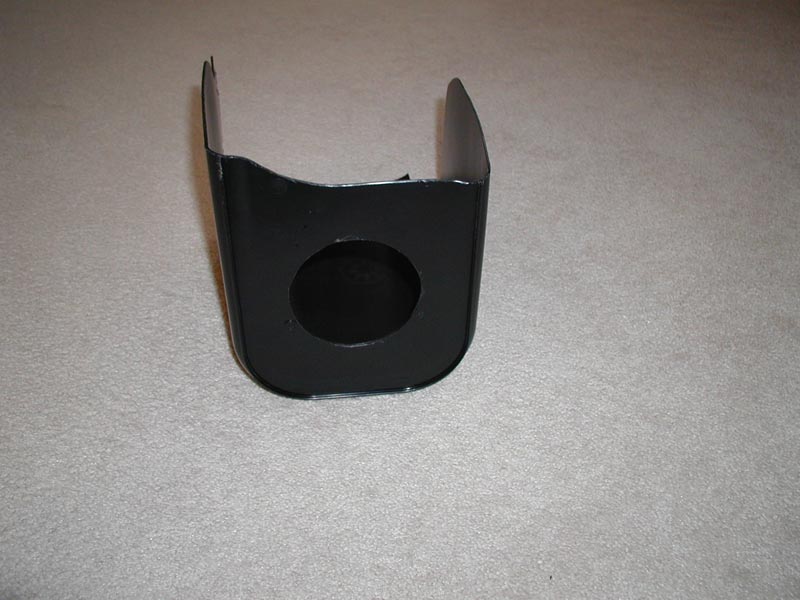
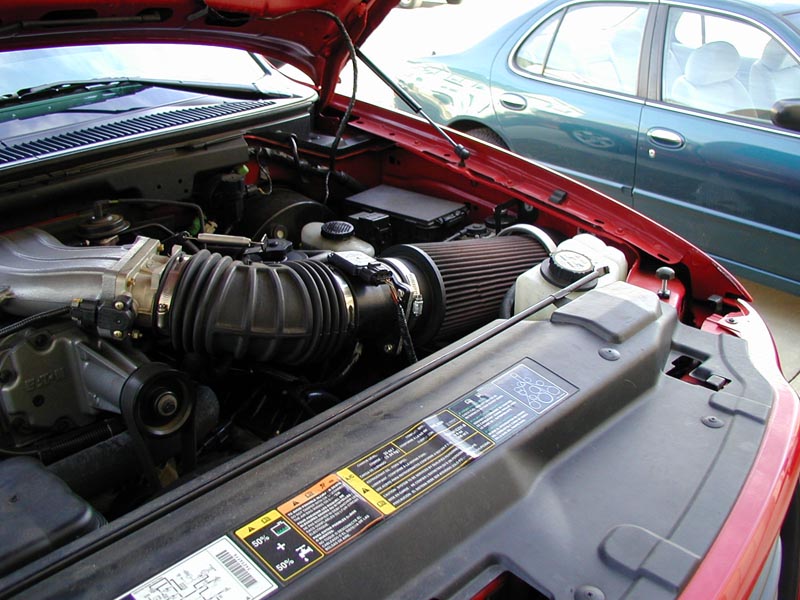
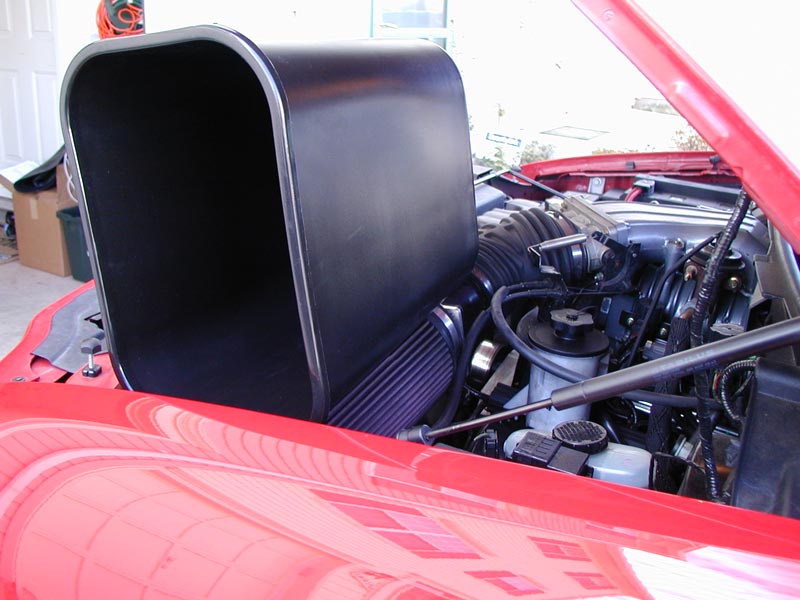
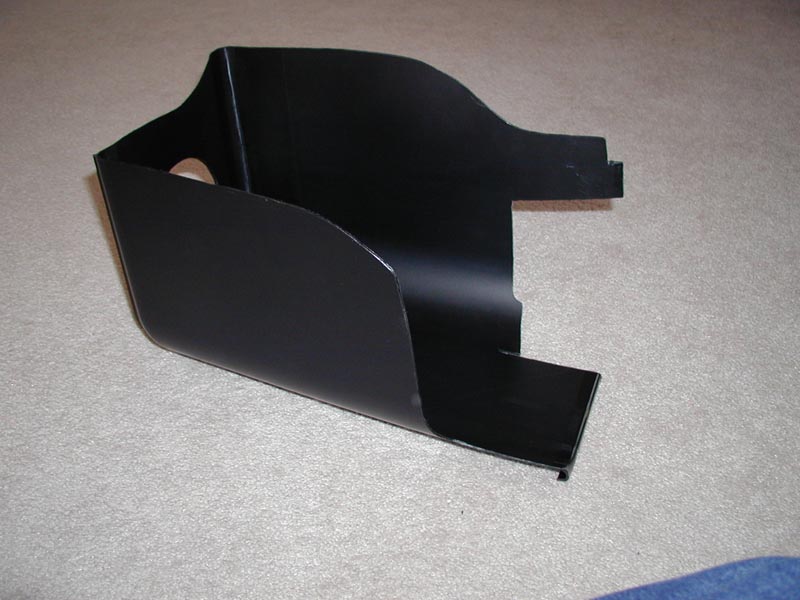
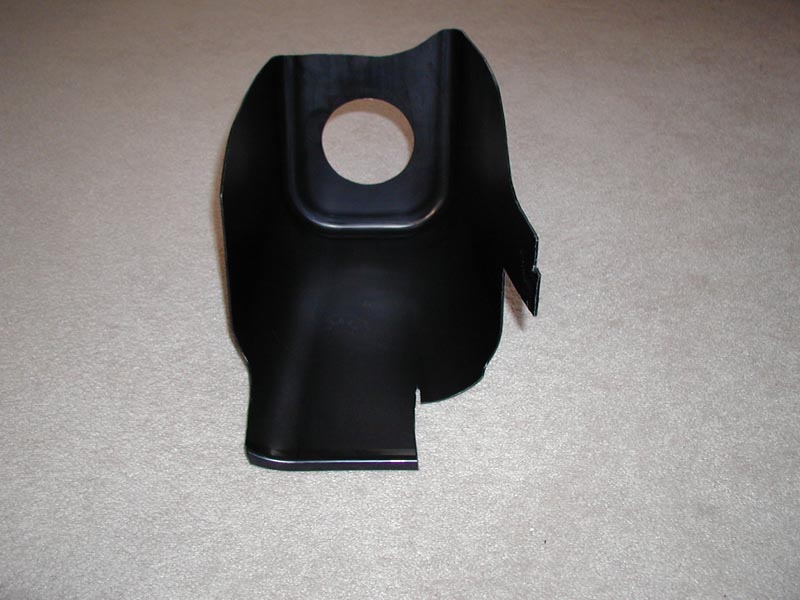
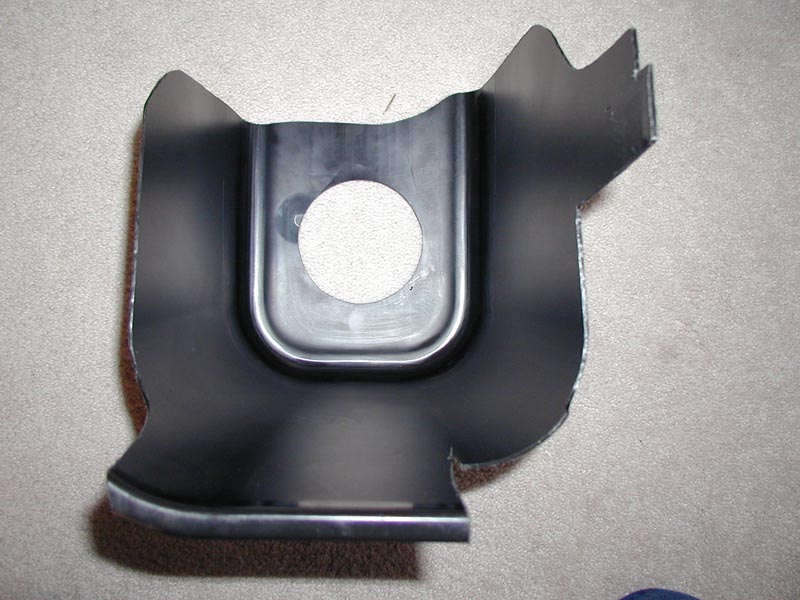
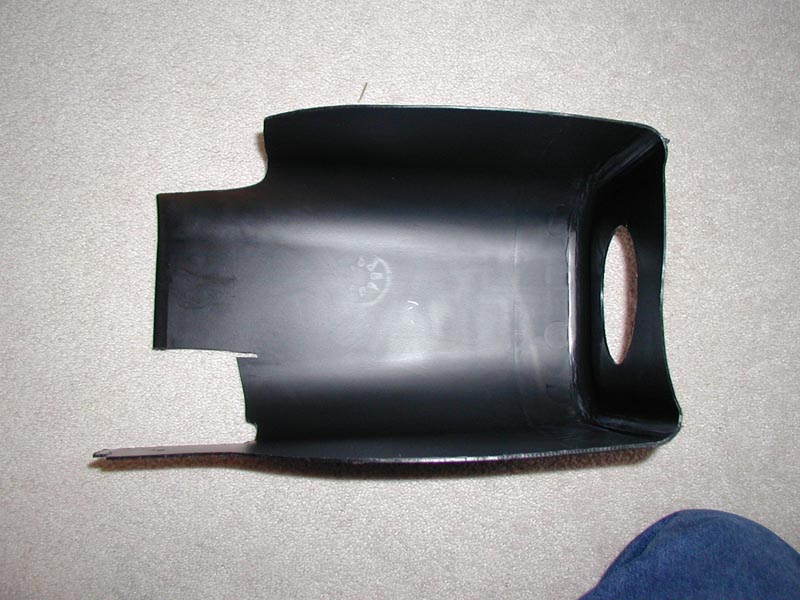
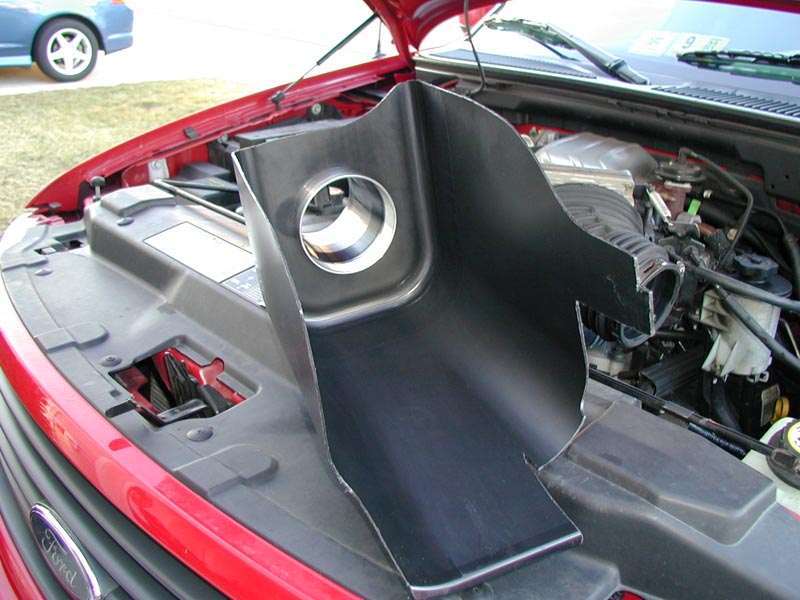
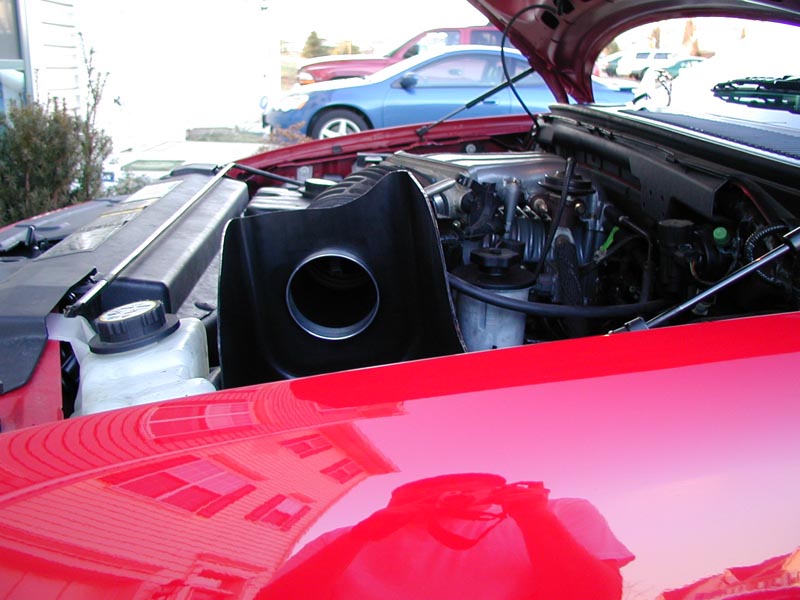
Since I didn't document any of the final measurements (I was adjusting too frequently and would have lost track anyway), I took the following orthographic views of the finished product. Hopefully, someone else can use these reference photos to duplicate the general proportions and save some development time (although every truck is slightly different, and adjustments +/- a half inch or so should be expected):

#10
02-03-2003, 01:10 AM


#12
02-03-2003, 01:12 AM


#14
02-03-2003, 01:15 AM
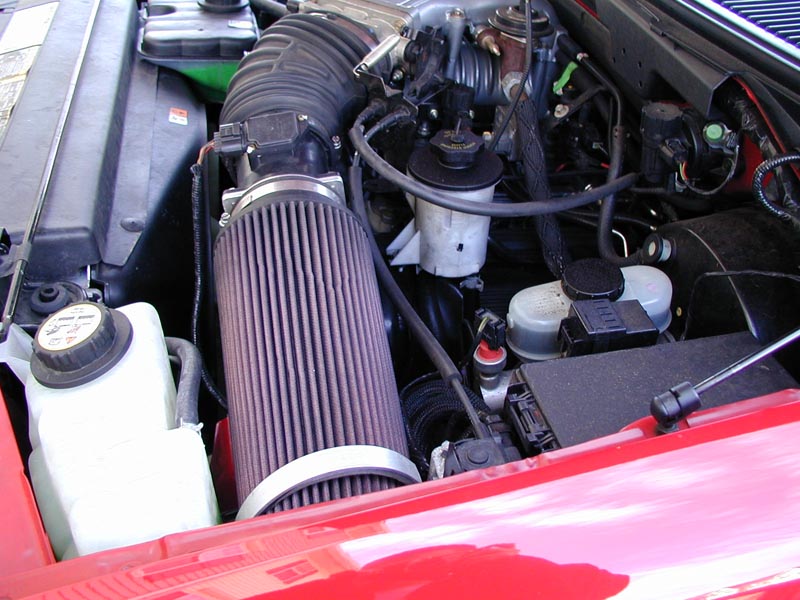
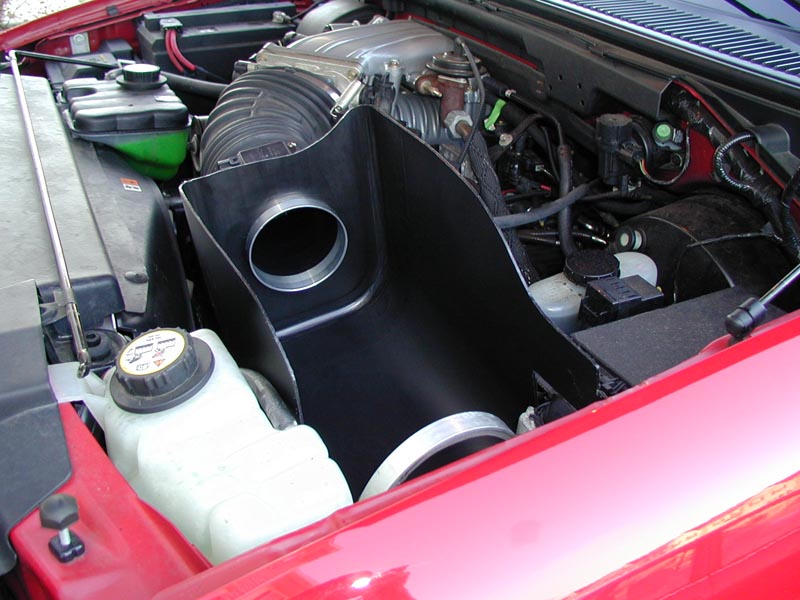
To accommodate the air charge temperature sensor (and wiring), I had to make a couple more modifications to the Rubbermaid. I drilled a hole in the rear-bottom corner large enough to fit the plastic wiring conduit snugly (it was around 5/16" but your diameter may vary as the conduit is wrapped with electrical tape). I then made a diagonal cut with the Exacto knife (to maintain the smallest kerf and tightest seal) from the 4" intake hole to the 5/16" hole:

#15
02-03-2003, 01:16 AM

Senior Member
Join Date: Mar 2002
Location: Phoenix, AZ
Posts: 158
Likes: 0
Received 0 Likes
on
0 Posts


